
RSN Passimentiere Part 3: tassel ruff
The ruff is the part of the tassel that covers up the join between the skirt and the tassel top. It can be frilly, plain, beaded, wound...any number of things. I wanted to make something fluffy and decided to try an experiment. It's entirely possible - even likely - that there were instructions for making a ruff like this somewhere in cyber space but I came up with this method and was pretty chuffed when it worked just as I'd hoped!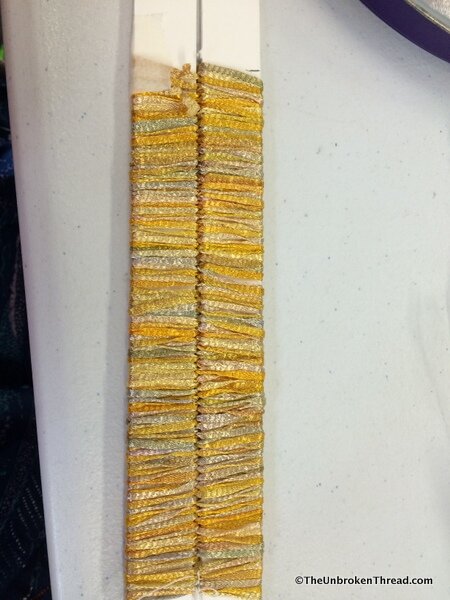 First I had to make a winding template out of matt board. Again I made the template twice length of the diameter of the tassel top for the ruff. I wanted the ruff to fold over on itself as I wound it around the tassel top so I cut a slit down the middle of the card. Using some hand dyed viscose ribbon from Oliver Twists I then wound the fiber around the form, going over the top, through the middle, behind the bottom - in a figure 8 wrap.
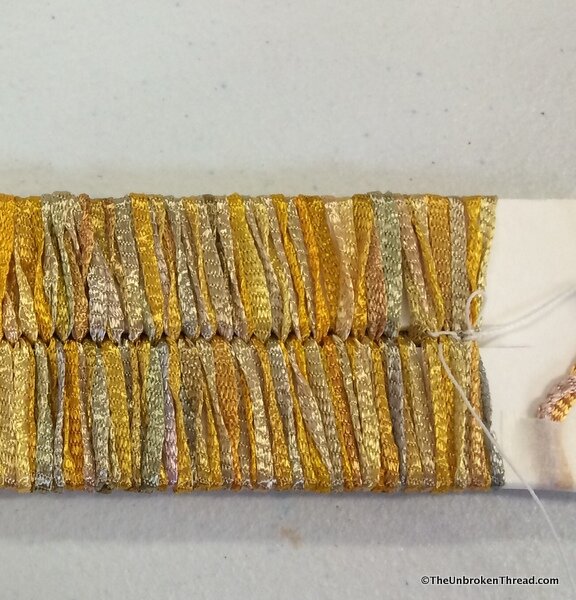 I used the curved needle and button hole thread to stitch it together in the middle. Then I had to slide the ruff off of the template and it was ready to be put onto the tassel top.
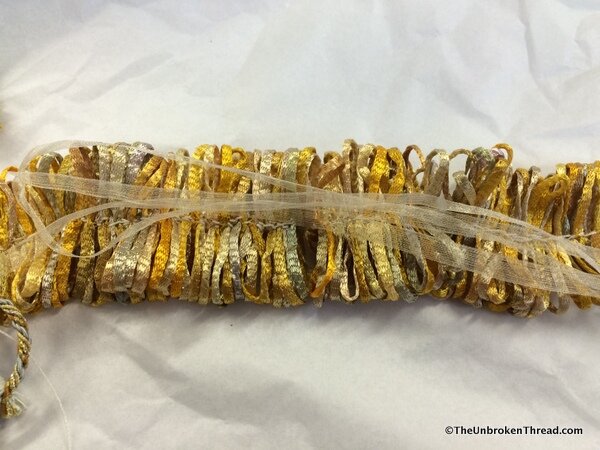 You can see in the photo above that my first thought was to use silk ribbon to cover the place where the ribbon was sewn together just in case the ribbon didn't fold over on itself when I wrapped it around the tassel. However, I didn't have to do that as the curve of the tassel top forced the ribbon ruff to gently fold onto itself and it was perfect! (Photo coming soon :)Have you ever thought of an idea to make something and had it actually work? Isn't that a great feeling? Tell us about your experience...please!