
RSN Passimentiere Part 2: tassel skirt
The skirt of any tassel is the piece that you see first. It may be all one color or it may be a mixture of colors. Most often it's one color and made of all the same kind of thread. For my tassel I wanted a mixture of grey and gold colors and a mixture of fibers. This tassel was going to be an instance of "more is more"!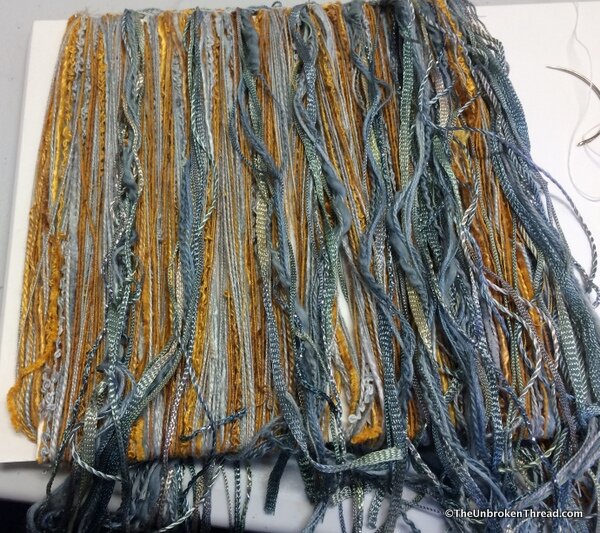 The threads used for the skirt will determine the final look so I chose them carefully. The company Oliver Twists dyes threads and packages them in skeins of mixed fibersEach skein includes various cotton and viscose threads. In addition to the mixed skeins, I got two different weights of silk lace yarn.To make the skirt you must determine the diameter of the tassel top form and make the skirt twice as long as the diameter of the tassel top form. You also need to decide on the length of the skirt. Then a piece of card is cut to twice the diameter of the tassel form and the length of the skirt plus a bit of extra length so you can hold onto the card as you wind the fibers onto it. (see photo above)
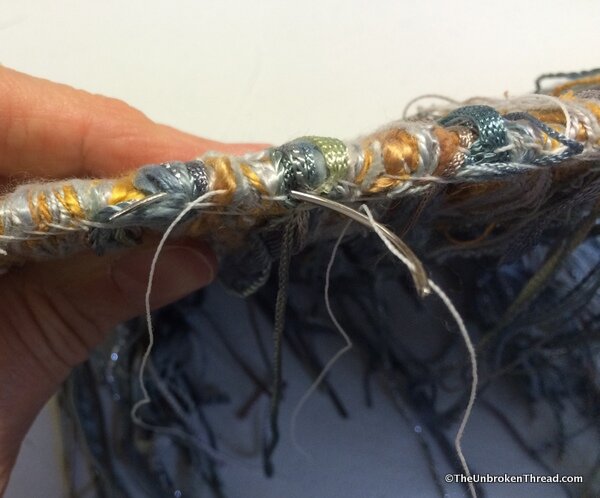 Once the threads are wound around that card they must be stitched together. Using a curved needle and button hole thread, I stitched back stitches along the length of the card.
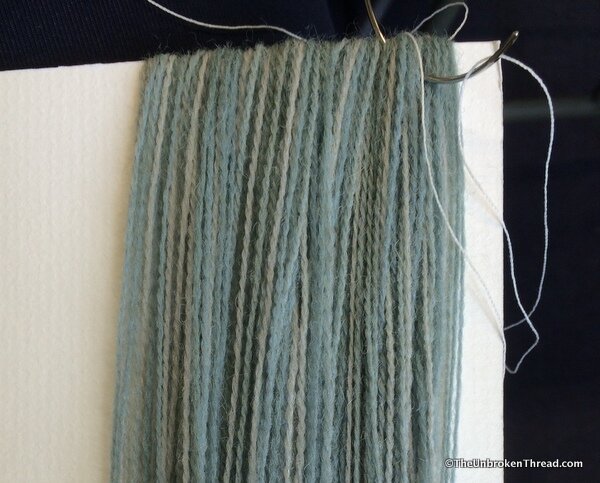 To make the tassel really full, I made an underskirt using four shades of Appleton's wool. The same technique is used to wind and stitch the wool, as for the overskirt made of the mixture of fibers.
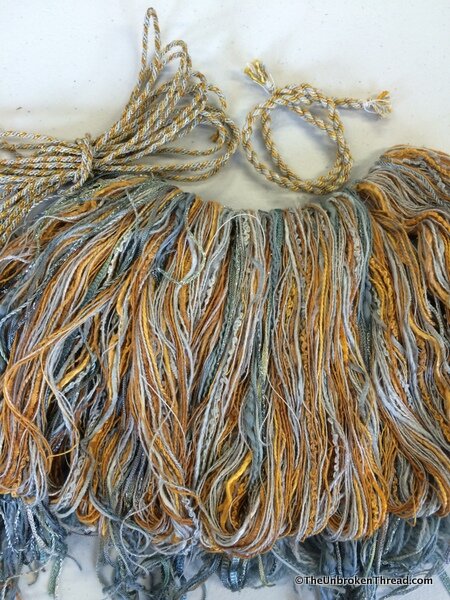 Above is a photo of the materials I will use to assemble the tassel, minus the ruff. The cord to wind the tassel top, the hanging cord, the over skirt and the under skirt.Next up - the ruff!