
Pineapple: Long and Short Shading
There are leaves at the bottom of the pineapple that I decided I would embroider using long and short shading. When I first started to embroider, long and short shading was so difficult and I was usually unhappy with the results. However, like most things, practice has improved my skills and I now enjoy it! Attending the workshop with Owen Davies also helped to refine my skills and to remind me of things I knew but don't put into practice all the time!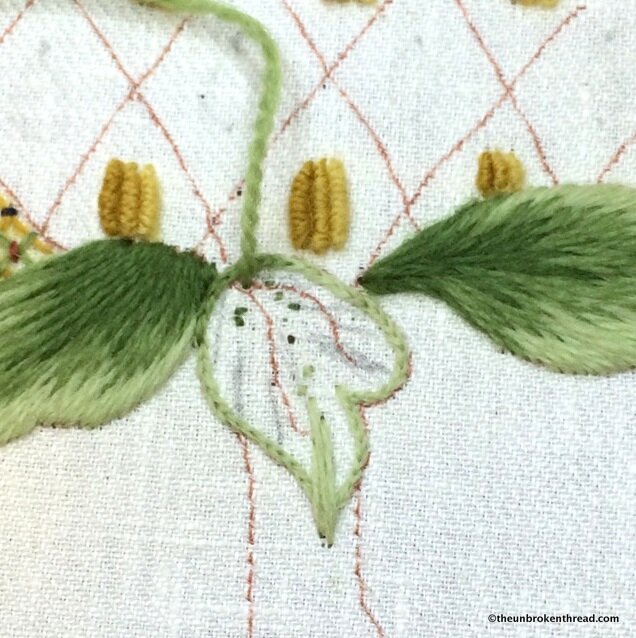 Whenever you're embroidering a motif in long and short shading you must always outline the shape with split stitch. The tinier the split stitch the more defined the motif will be and the better the finish on the edge will be. Owen is the master of tiny split stitches!The other thing to remember is that the first layer of stitches should go quite deep into the area you're stitching. The longer/deeper the first layer is into the shape, the better the subsequent layers will blend together.
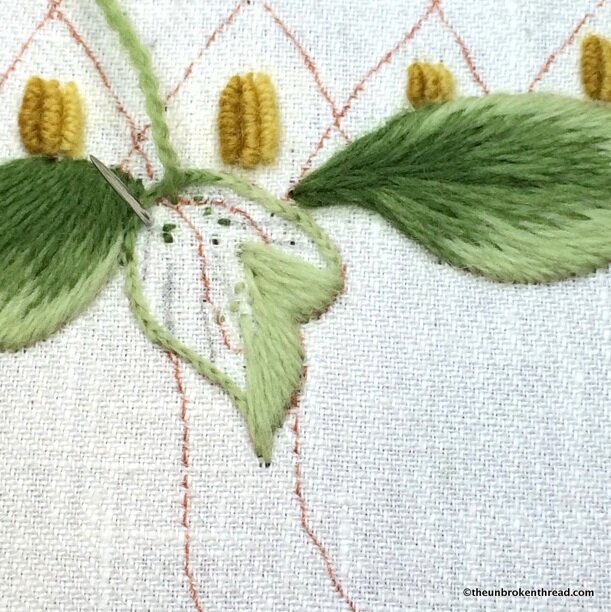 Before I begin any long and short shading I always put in stitch direction lines. You can see them in the photo above drawn in pencil. I use a Bohin chalk pencil for marking fabric. When you change direction, remember that short stitches allow you to change the direction. Sometimes the end of a short stitch will be covered by the next long stitch.
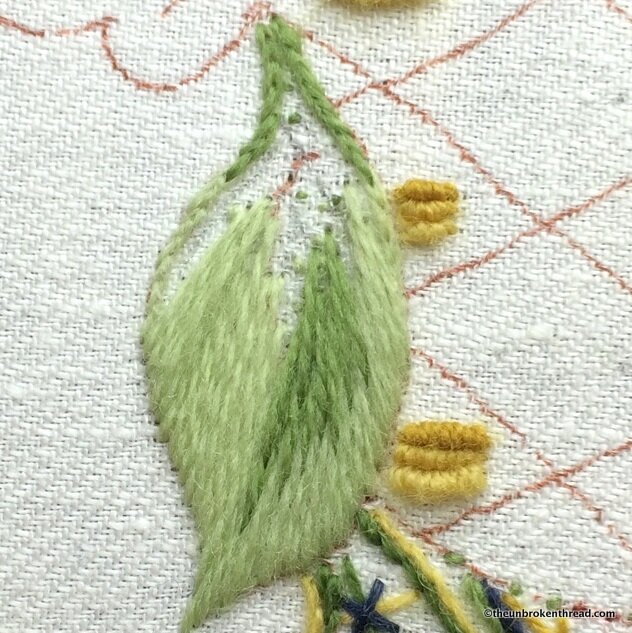 When I come to put in the second layer, I like to make the stitches nice and long again. There are "longer" and "less long" stitches but I would say none of them are really "short". When I first attempted long and short shading, I had the worst difficulty with it because I made the short stitches too short!
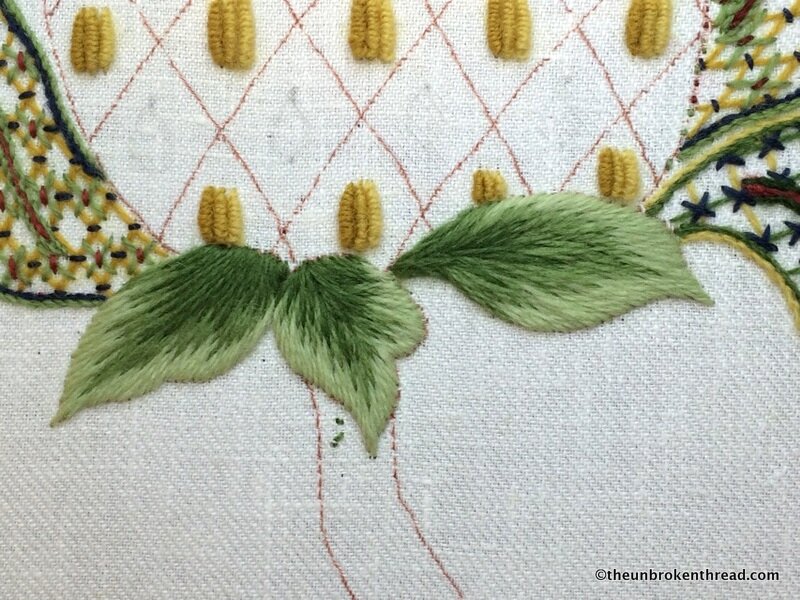 The third layer goes quite deep into the second layer (actually it probably goes into the first layer of stitching but by the time I get to the third layer it's covered by the second!).You can see the leaf on the left doesn't come to a point in the design. This leaf seems to be coming from underneath the fruit so I purposefully didn't come to a point with the shading.Next up will be the stem using...you guessed it!...stem stitch!