
Loveday Crewelwork : Shaded roses
Last time I told you about embroidering one of the smallest motifs in the Loveday Crewelwork piece. This time I'm going to tell you about stitching one of the largest! On the right side of the tree is a large cluster of beautiful pink roses with three leaves tucked behind the flowers.When working part of a design that has layers, the rule of thumb is to work from the back to the front. Another way to think of this is to embroider the things farthest away from you first. My first task, therefore, was to determine which of the flowers was the farthest away, the next farthest and so on.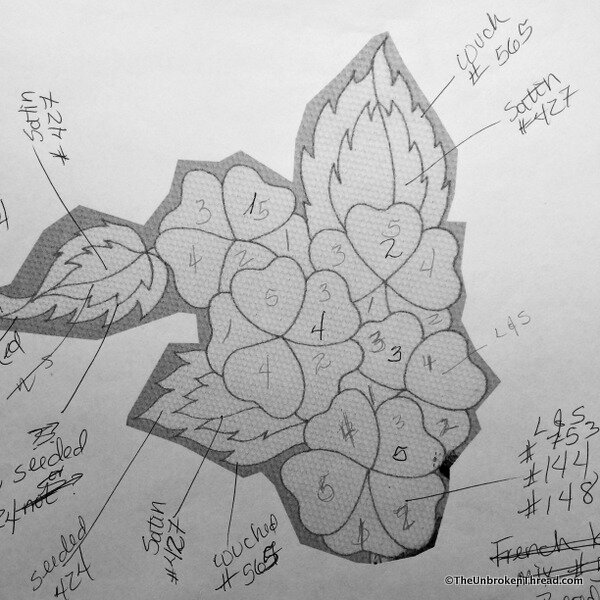 To help me do this I first took a photo of the rose motif before I stitch it. I pasted the photo into a word/pages document and enlarged it before printing the document. I didn't simply print the photo because, 1. I didn't need a high resolution image and 2. I wanted space around the image in which to make notes. The darker pen marks indicate the order in which I stitched each flower and the lighter pencil marks are for the order of the petals in each flower. A few had to be partially stitched because I couldn't do the darker shaded areas until I'd done all the first shade of pink in all of the petals.
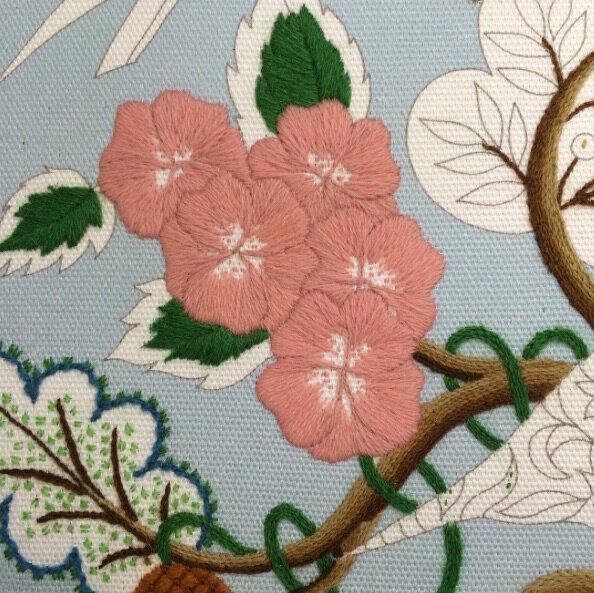 As you can see in the photo above, by beginning with the flowers and petals farthest away from me, the effect is quite realistic. This technique is used in all embroidery to ensure the "perspective" is correct and I continue to be amazed at how well it works.
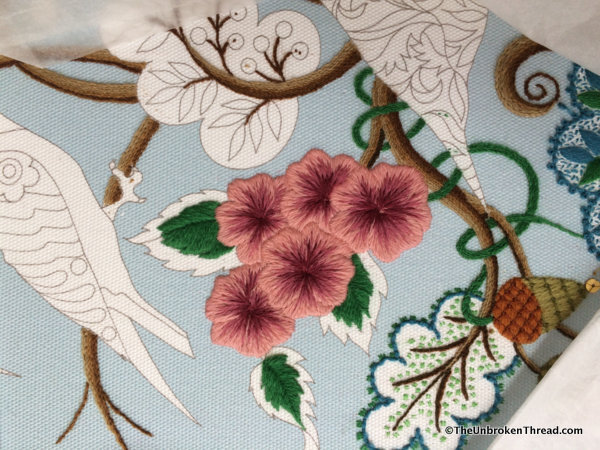 Once the lightest pink shade was in it was simply a matter of adding the mid and darkest shades. They worked beautifully, mainly because the first layer of light pink was stitched deep into the petal. The more stitches there are for the subsequent shades to melt into the better the heading looks - always.You can see that the mid and dark shades of pink were stitched in varying lengths into the light pink. They never come up through the light pink layer at the same place. I always think "spiky" when doing the second and third layers.
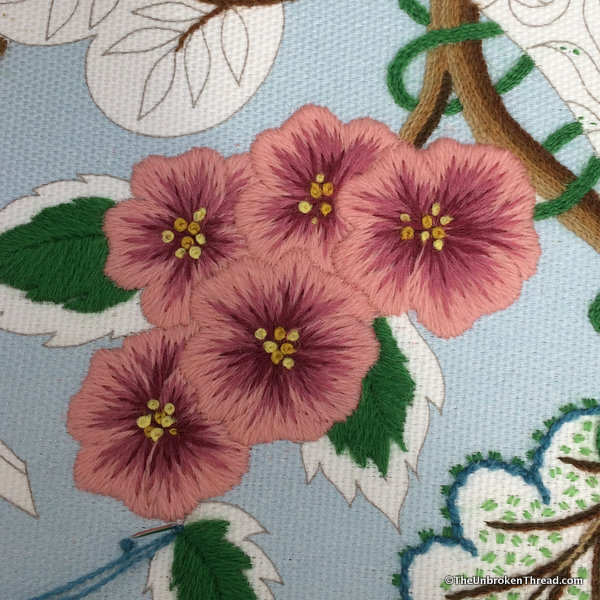 There are fewer stitches of the darkest pink - deep red really - so the color doesn't overpower the flower. It doesn't take much of a dark coloured thread to make an impact!
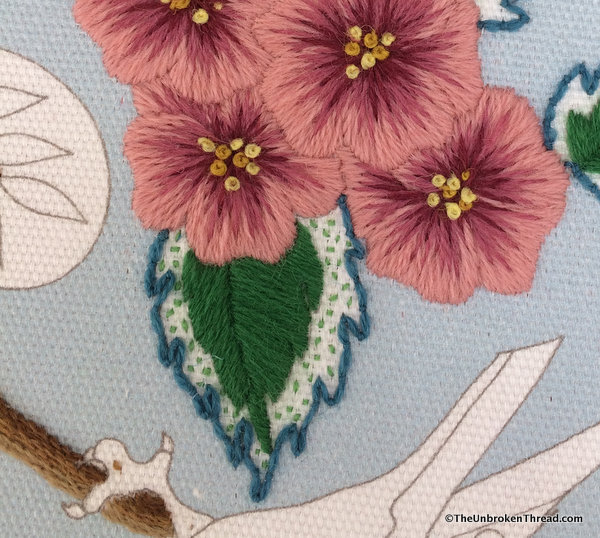 Lastly I added French knots in both a yellow and a mid-gold color. I'll be adding some gold beads as well to give the center of the roses a bit of sparkle!
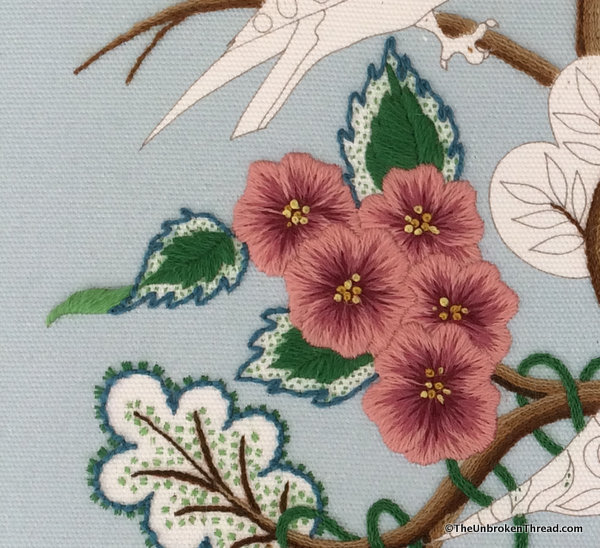 The leaves around the roses are embroidered in the same way as most of the other leaves in the piece - satin stitch, couched double threads around the edges and seeding inside. Really, I just LOVE the leaves in this piece! And surely you've noticed the light green turned over leaf in the photo above? Charming!
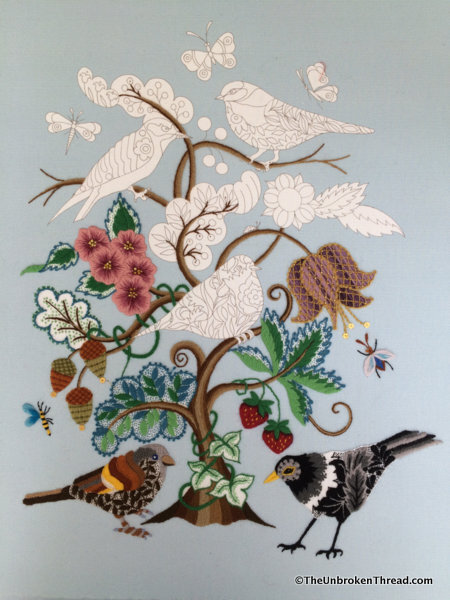 Here's how the whole piece looked when I finished the roses. I've now moved onto the Robin and am having a grand time with him! He has orange and bright red on his breast and really pops in the middle of the piece!If you're inspired to create one of these pieces, go straight to Nicola's site and pre-order one for yourself! It will keep you happily occupied all winter!