
RSN Silk Shading: Setting up to stitch
As always, the first things to do are to transfer the design to the fabric and mount the fabric onto the slate frame. Because I'm stitching on silk fabric, I also backed the silk with calico to give it more stability.For the technique of silk shading there are a couple of other things one must do before beginning to stitch. The first is to do an order of work, designating which areas will be stitched first, second, third and so forth. As with any embroidery one stitches, the elements of the design that are in the back are stitched first. When stitching a flower that has layered petals it's especially important to stitch the petals or leaves that are in the back before the ones in the front. This gives the finished embroidery a more realistic look.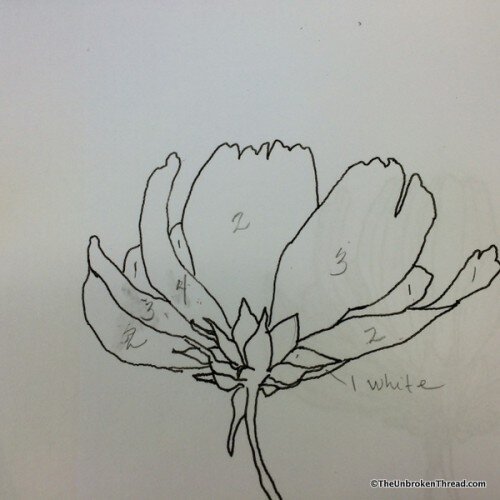 Above is a copy of the flower with the areas marked which will be stitched first, second and so on. The little note written on the page that says "white" is to remind me that that area is part of a petal not part of the sepal.
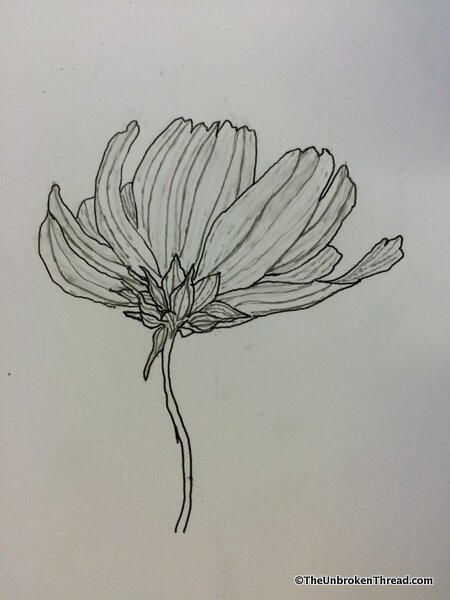 The next step is to look closely at the original image to determine the direction of the texture of the petals. This is what will determine the stitch direction. It may seem obvious, but if I stitch horizontally rather than vertically the petals will look completely unrealistic. Likewise, if the stitch direction doesn't carefully follow the direction of the flower's texture, the whole thing won't be as beautiful as it could be. This is where many beginning silk shading students 'lose their way'. Always mark the stitch direction lines on the paper image and then, as you work each section, mark the stitch direction lines on the fabric itself before stitching that section. Always. Every time. Don't guess. It won't work. Your stitching will go wonky.And now, at long last, I am ready to begin stitching...or so I thought. Both Kelley and Debs knew I had brought with me silk threads to use for silk shading but, due to events outside of our control, Kelley hadn't been able to communicate with me prior to my arrival. While she wasn't 'anti-silk thread' she did ask me to do a test area of stitching in both silk and DMC cotton.
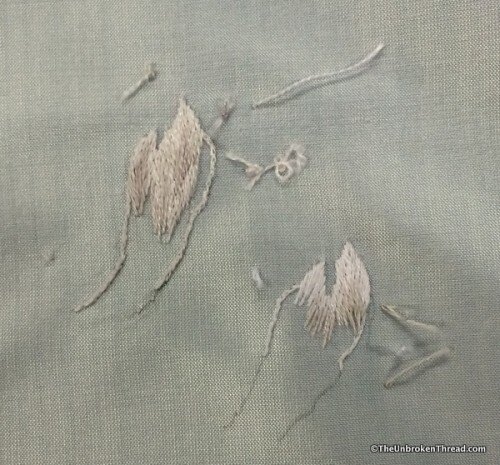 She and Debs both explained that a student in the studio had previously decided to use Pearsall's silks (a silk I love very much) and decided to change to DMC because of the twist in the silk. The object of the Certificate Course is to get a flat, even shading of color and any twist in the threads might lose points on the assessment. I'd brought with me Au ver a soie silk and the twist is far less on that than on the Pearsall's but there is still a twist.Here's the decision I had to make - did I want to do silk shading and get a possibly lower mark on my assessment or am I willing to use DMC cotton for (not really) silk shading and possibly get a better mark on my assessment? Being the bit of a rebel I am, I wanted to use silk. It's silk shading for heaven's sake. The lustre of the silk is beautiful and it's the traditional/original thread that was used for silk shading. Hence the name silk shading.So I did two test areas on the little piece of fabric I'd brought with me on my small hoop. Can you see the difference in the photo above? The silk is more lustrous but you can also see the twist of the silk thread. On the right - even though I didn't do a great job of long and short shading - you can see the threads lie flatter.Now this was a dilemma. I'd spent a lot of money on the silks and was really looking forward to working with silk and learning to shade using silks. But, like most people, I wanted to get the highest possible mark and I was already concerned about whether or not my silk would be good enough to achieve that, never mind about losing points for the wrong thread.After mulling it over for a bit and talking to other students in the studio, I decided to go with the DMC cotton. I did not make this decision lightly, however. Not until I had thought through how I would use the silks I'd bought on a future piece (on my Diploma Advanced Silk Shading - something white, and grey...a sheep!) and remembered that I had all the colors of DMC at home in Berlin, was I ready to commit to using the DMC. If you're really interested in why, you can read about the decision making process on my new blog Not One More Thing.
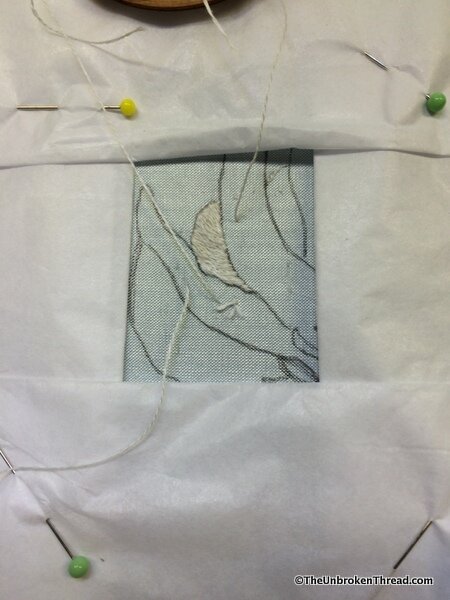 Whew. That decision made, I had to get the right colours of the few skeins (5 or 6 ) of DMC I would need to do the work I would have time to do while I was in Bristol. The photo above is the first little bit I stitched and I'll explain more about that next time!P.S. Kelley was pleased with my first effort so I felt MUCH better about this whole silk shading thing already!