Adding gold around a flower
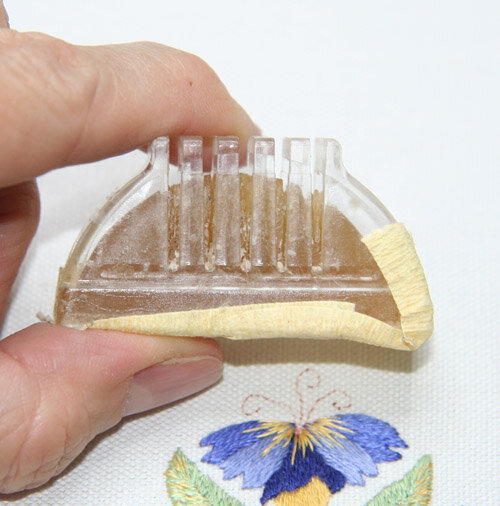
The silk stitching on the four panels of Trevelyon's Cap is finished so it's time to start adding the gold. Today I'm going to show you how I outlined one flower with gold thread.I used two different sizes of gold rough passing thread on the first panel of the cap; #4 and #7. For outlining the flowers I used #4 as it's a finer thread and easier to manipulate around the complex shapes.The first shape I'll be doing is the blue flower at the top of each panel. Only the blue sections will be outlined, not the round gold bottom section. The three curlicues at the top of the flower will be done using gold passing thread #7 later.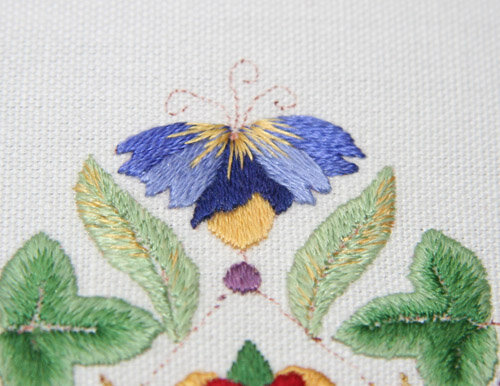 To begin, I cut a length of gold sewing thread and pulled it through my wax to strengthen it and to keep it from getting tangled. This little wax holder is 30 years old and is from the days when I made quilts. I just love it because I don't get wax on my fingers.
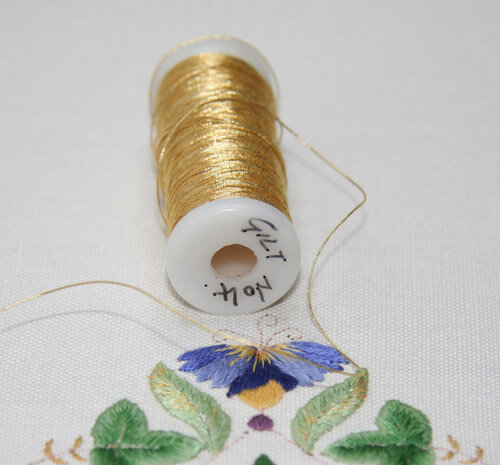
 The photo below is of the gold passing thread #4 from Benton and Johnson. I measured how much I needed by loosely outlining the embroidered blue flower with the gold thread and then cutting a length to include enough extra to plunge the ends. This meant that I added about 2-3 inches to the length. I like to have more than enough to plunge because I find it fiddly if there isn't enough thread to plunge through the fabric.
 I tied a knot in my waxed thread and make a waste knot and two little stitches to secure the thread. I put the little holding stitches right up next to the top of the flower where I know they'll be covered by the gold thread.
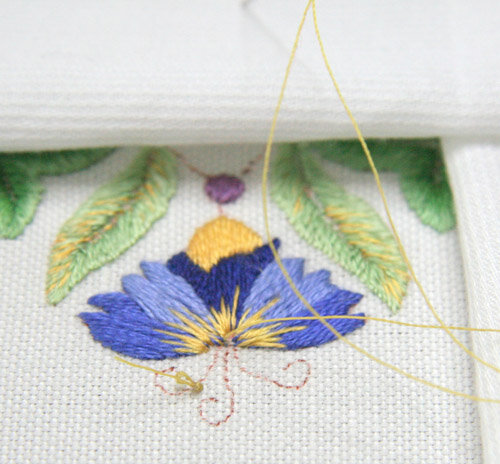 To begin couching the gold thread around the blue flower, I laid the gold thread down on the fabric and couched down the end using two stitches, one right next to the other. You can see the tail I left for plunging later in the photo below. It's important to use two strong stitches to begin the couched gold thread so you know the gold thread is secure.
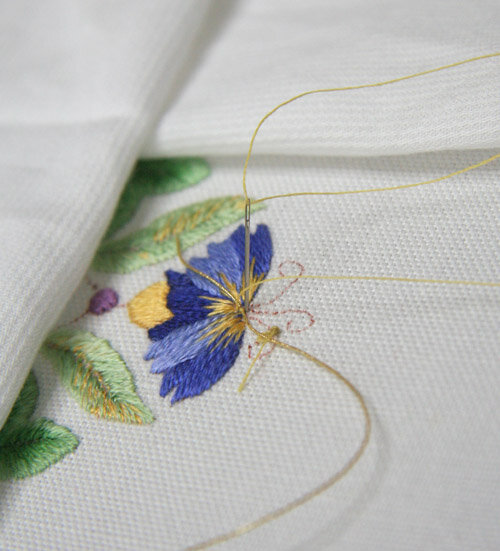 Gently guiding the gold thread around the curve of the flower, I couched it down right next to the silk stitching. I came up between the silk and the gold thread and went back down to the back on the outside edge of the gold thread. I pulled gently on the gold thread as I couched it down so it would lay flat and not buckle or pucker. The couching stitches are also firmly stitched so the gold stays in place.
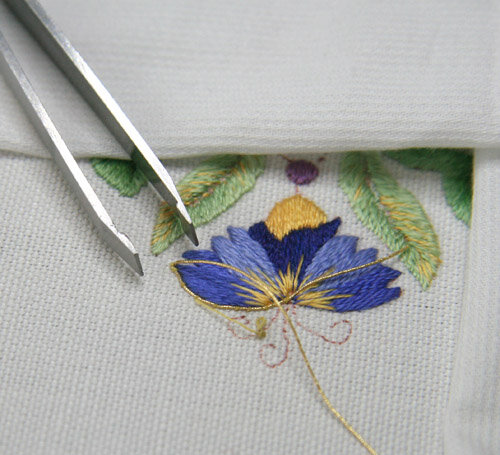 When I got to the first tip of the flower I placed a stitch right at the tip and gently pulled the gold thread back, creasing it slightly. I find this helps me to get a better grip on the gold thread when I use the tweezers to ever so gently pinch the gold together, making a sharp, crisp point. I had to be really careful not to catch any of the silk in the tweezers as it would damage the silk thread.
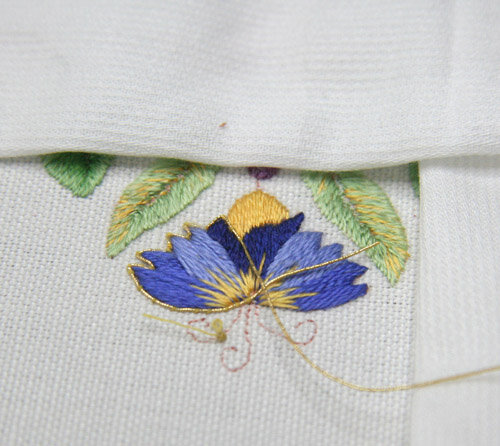 Each time I came to a tip of a petal I repeated the process. It was slow going but so rewarding to see the gold creep along the edge of the blue flower. I really love doing goldwork: the technique is interesting and the materials are beautiful. Even the smallest bit of gold adds elegance to a piece of embroidery.
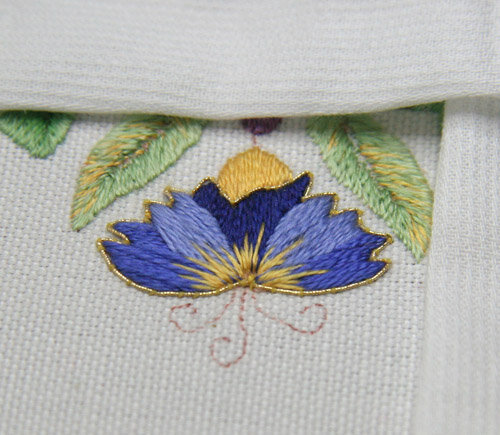
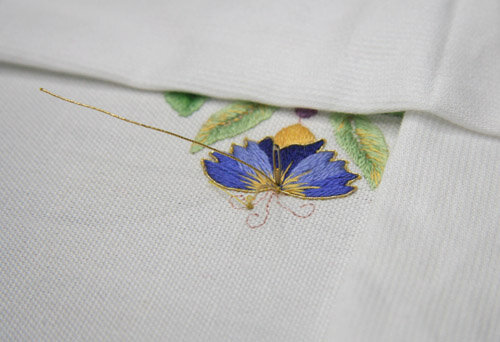 When I had couched down the gold all the way around the blue flower, I put in two stitches at the end of the gold thread to hold it in place. Then it was time to plunge the ends through to the back of the fabric.There are two methods for plunging: using a lasso and using a large needle. I prefer the large needle method as it's quicker and the lasso often gets tangled up when I've tried that method.
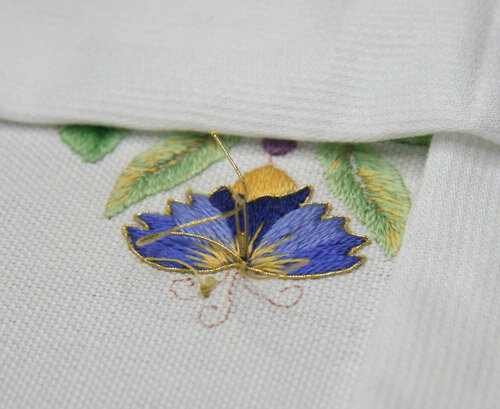 I began by passing most, but not all, of the needle from the front of the fabric to the back. I leave just the eye plus a little more on the front side of the fabric. This means that when I pull the thread through to the back it has less far to travel before it's pulled through the hole. Once the needle was in place, I threaded it with the tail end of the gold thread and then firmly pulled the needle and gold thread through to the back. It always makes a sort of "thunk" sound when the gold goes through.
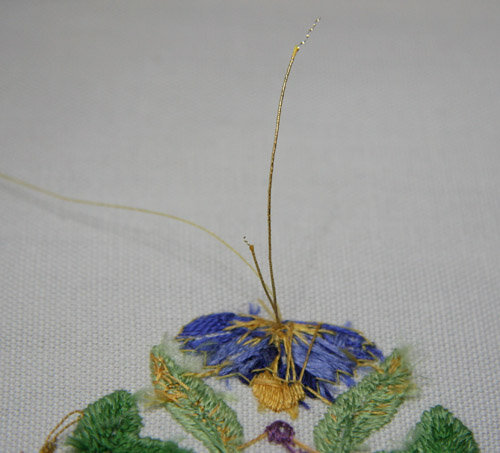
 Lastly I turned the frame over so I could attach the ends to the back of the piece. You can see the two short lengths of gold thread that have been plunged from the front in the photo below. I carefully folded each piece towards the middle of the silk stitching so they can be attached to the back.
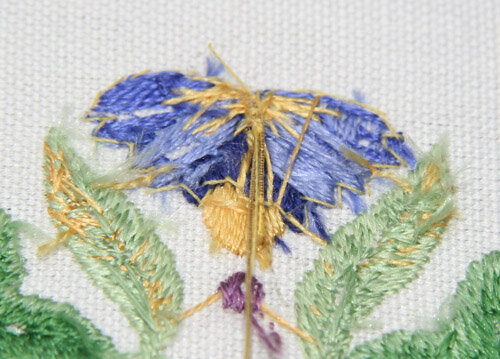
 Using the sewing thread, I stitched down the ends, using some of the silk stitches as an anchoring point for my holding stitches. I ran the needle under the gold and then took it over the top and ran it under again a few times before securing it all with a knot. It doesn't look elegant but that's what the back of gold work looks like - messy!
 Next time I'll be explaining how I create a gold trellis pattern over the blue silk thistle flower. It's coming along...If you have any questions about or any tips for outlining shapes gold, please leave a comment. My question about the Bayeux stitch got many, VERY helpful replies. Our combined wisdom is pretty extraordinary!p.s.A huge thank you to Jacqueline Holdsworth at Needleprint for her post about The Unbroken Thread! How wonderful to be one of her "Remarkable Women"!
