RSN Goldwork: Day 5 Plunging
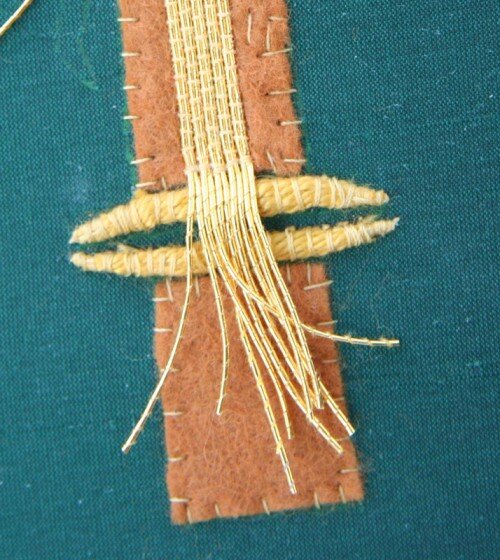
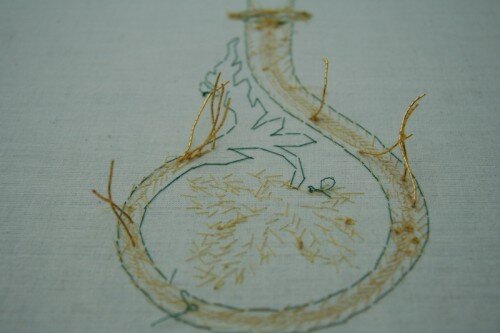
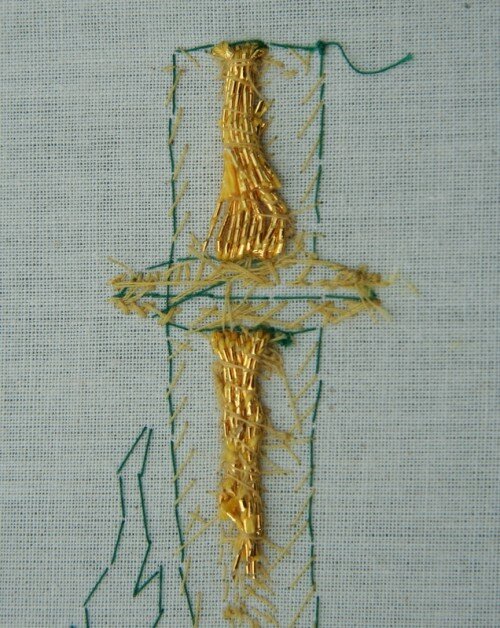
This post, in fact, is slightly out of order. I did all the plunging of the threads before I did any of the pearl purl. It must have been a subconscious decision that I skipped over the plunging - it was my least favorite technique!Plunging is the process where the tail end has softer malleable threads are pulled through the fabric to the back of the piece. There are two ways to plunge - as you go and when all the laid work is finished. I chose to do all the plunging of the Japanese thread when all of it had been couched down. The twist and the rococo I did after I applied each thread. The reason was simply that I was excited to see how the Japanese thread would look when it was all finished and I didn't want to stop. The crozier tapered from the bottom to the top getting narrower at the curved end. This meant that the Japanese couched thread had to taper as well. To taper the thread I simply stopped the row of Japanese couched thread at various points along the way so the thread stopped at a certain point. This meant that I had lots of tail ends of threads along the crosier. At the bottom were the tails of all of the threads which had to be plunged in a row.
 There are two ways of plunging threads: one using a lasso and a large needle and one using just the large needle. I plunged using the large tapestry needle because it was easier for me. To plunge you must put the needle through the fabric all the way to the bottom end of the eye of the needle. Then you slide the thread through the needle, bringing it most of the way through the eye. The next step is what feels so violent- you pull quite sharply to pop the thread through to the back. It often makes a loud pop sound which, when doing embroidery, is unusual.
 One trick Nicola taught me was to angle the thread when the plunging is at the end of one of the tapering off threads. When I plunged the threads along the curve of the crosier, rather than pulling them straight down I angled the needle toward the top of the crosier. This meant that when I plunged the thread through, it lay more flat against the felt and blended in better with the threads next to it.After the threads are plunged it's then time to secure them to the back of the work. The threads are folded over so they lie underneath themselves (folded 180 degrees back) and then, using small stitches going through the back side of the crouching stitches to catch the thread, secured down. Once some of the gold has been secured you can then use the already stitched down gold threads to secure the next pieces.
 This leaves a big messy lump of gold thread on the back of the piece, but that's the nature of gold work.The rococo threads was plunged the way I've described above. The twist, however, is done a bit differently. Twist is three smaller threads twisted together. Because this makes the thread so thick, it's better for the fabric if you untwist the three strands and plunge them separately but through the same hole.Once all of the threads are plunged, then the top of the piece looks just beautiful - clean and smooth - but the bottom looks a right mess! Fortunately, we only see the top when all is finished!Do you plunge all at once or as you go? Do you find it violent? Leave a comment!
