Trevelyon's Cap - the leaf
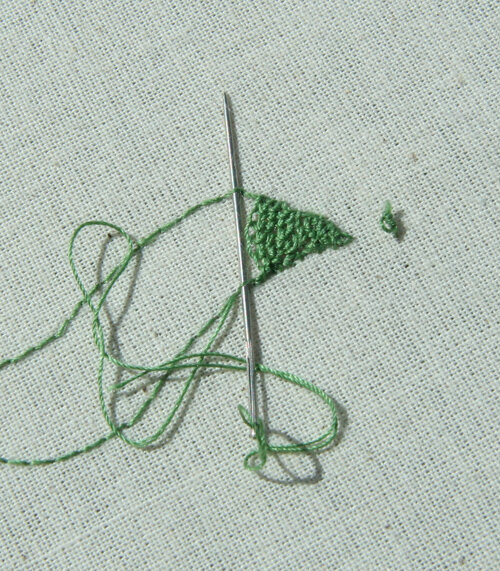
While working with Nicola, I asked her advice on the Trevelyon's Cap project I'm doing now. I'm not happy with it at all. The solution I was happy with a few days ago I'm not pleased with now. The long, narrow leaves just look too heavy, or too overwhelming, or too childlike or too...something! And the red flower in the middle looks the same way - but I couldn't put my finger on exactly what was wrong.Looking at photos on my computer (it's framed up so I hadn't wanted to carry it on the airplane) the first thing she said was "When you're working on such a small scale, everything must be on a small scale." Obvious, I suppose, to an artist, but it hadn't been to me. My materials must be on the same small scale as the piece. So we began a sampler of different combinations of threads to see what might work for the cap project. The first thing we did was to stitch a leaf in corded Brussels stitch using Mulberry silk thread. This thread is more tightly wound than the Pearsall's silk and works far better for detached stitches. The result, above, was much finer in texture.Nicola then showed me a technique where the cord that runs across the shape is done in one kind of thread and the loops in another. We used Japanese thread for the cords and the same Mulberry silk for the looped part of the stitch.
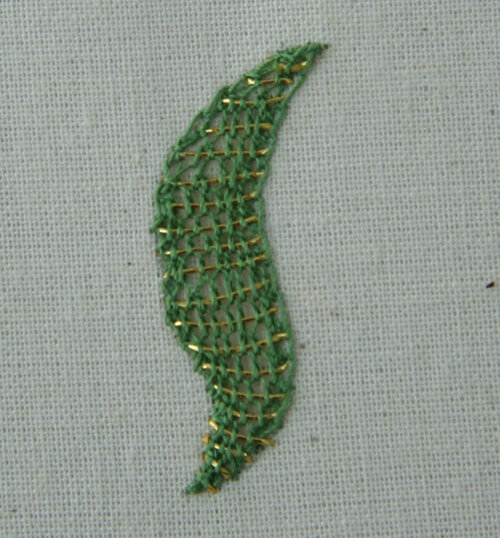
 The effect was good but my loops were far too large and too loose. Working the same stitch with GST, I'd gotten used to pulling very gently and making the stitches quite large to accommodate the thread. With the Mulberry silk, I needed to adjust and make the loops smaller.
 Here is a photo of the same stitch done with better tension. It looks much more delicate and in keeping with the scale of the cap as a whole. Working up this little sampler was a great idea! I learned a lot about the way stitch and thread in combination make a difference in scale. I haven't decided if I will use either the plain silk or the gold and silk combination or something else yet...watch this space - you will see it by the end of the week!
