Royal Persian Blossom trellis
Laid and couched work is one of my favorite ways to fill a large space. With careful planning and the right tools it goes quickly and smoothly. The laid and couched work in the large curved shape of the Royal Persian Blossom project combines two trellis patterns, cross stitches over the intersecting points of one trellis pattern and diagonal stitches over the intersecting points of both trellis patterns.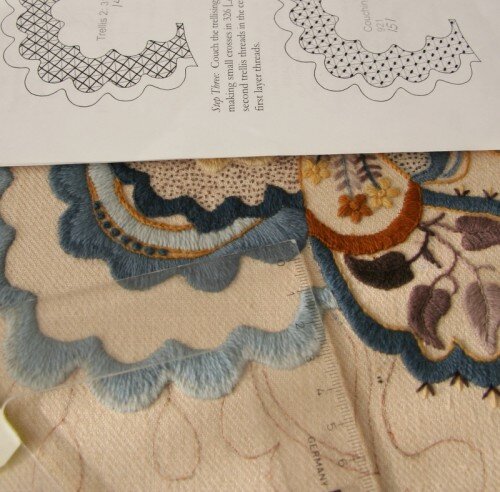 To begin, I used my triangle to find the correct placement for both the vertical and the horizontal lines. The first vertical line needed to be parallel to the far right side of the curved shape so I lined up the short end of the triangle to be parallel with the right edge of the shape. The right angle of the triangle then showed me exactly where the horizontal lines should be.
 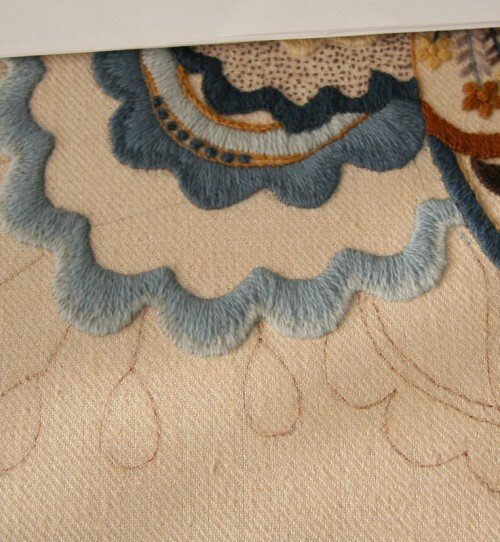 I then used my ceramic pencil to draw the lines for the first stitches going in each direction. Once those first stitches are correct, the rest is relatively easy if you have the right tools. My favorite tool for working laid trellis is a narrow piece of heavy card cut to the width I want between each long stitch in the trellis. I call it my spacing card. Once the first stitch is in, I use the spacing card to place the subsequent stitches correctly.
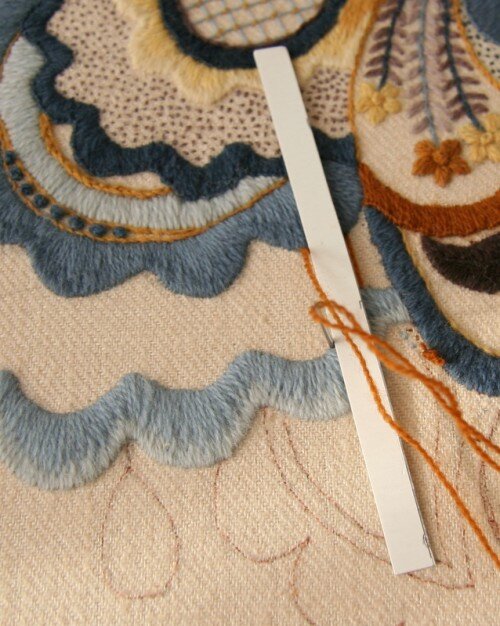 One additional advantage to using a spacing card is that you can see where the stitch should be all through the space, even if the line is interrupted. As you can see below the third stitch from the bottom running from the bottom right to the left is interrupted by the blue curve. Using the spacing card I knew exactly where to put the line as it continued beyond the blue curve that interrupted it.
 Next I worked the laid trellis that lies at a 45 degree angle to the first. Each line of this trellis needed to cross the intersections of the first. Using another, slightly larger piece of card lined up on top of each intersection, I could find the correct line for the horizontal and vertical lines of the second trellis. If my first trellis was slightly off (it wasn't quite perfect) the card showed me where and I could line the intersections up as well as I could, leaving the last bit of tidying to be done with the couching stitches.
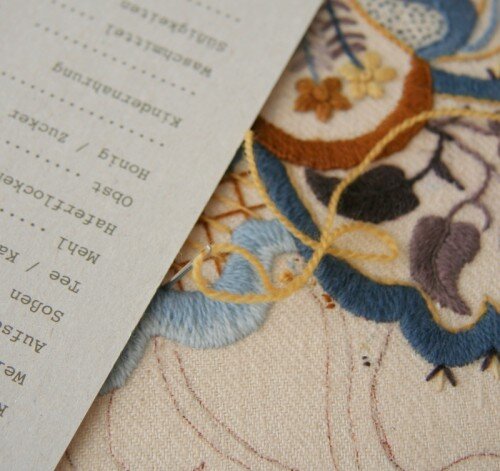 Once both of the trellis grids were done it was time to cross stitch over the top trellis at the points where the threads crossed. I worked the dark blue cross stitches and then started to stitch the diagonal lighter blue stitches. It quickly became apparent that my cross stitches were far too small and the diagonal stitches were covering them. I snipped them out and started again.
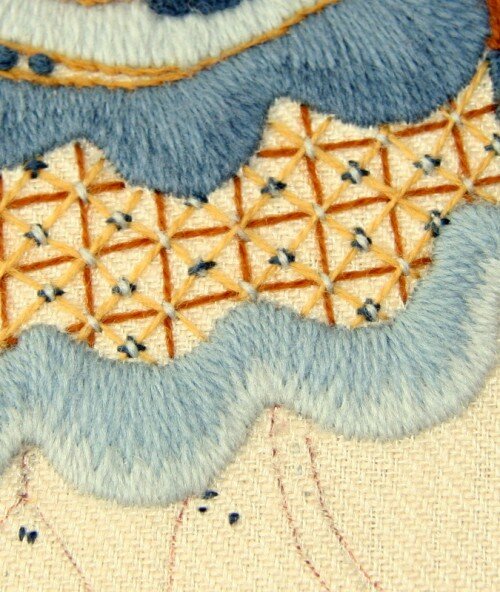 This time the cross stitches were quite a bit larger, extending into the middle of the open area around the intersecting trellis stitches. When it came time to put in the smaller light blue diagonal stitches, the pattern really looked lovely.
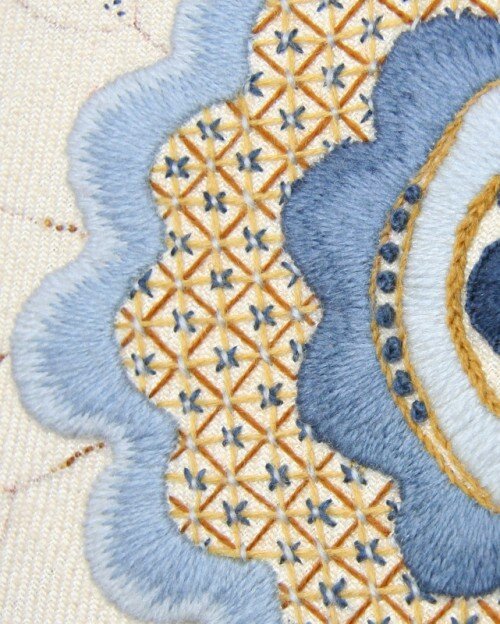 When working a laid and couched pattern of any kind, it's important to remember that each part contributes to the whole. I tried to make the cross stitch couching stitches too small and they got lost. The cross stitches are part of the overall pattern, not simply to hold down the trellis work.I just love doing this kind of stitching. When I was at the RSN course last summer in Rugby one of my classmates brought a book full of laid and couched patterns to class. I can't remember the name of the book and worse, I can't remember which one of us brought the book!If any of you know of a good book with with laid and couched patterns in it, would you please leave a comment? I know I would appreciate it and I imagine others would too!
