Long and Short Shading in 6 shades of blue
The Long and Short Shading was really fun! It was really rewarding! This took ... hours! Going slowly, stopping frequently, standing back to look at what I'd done all helped this part of the Royal Persian Blossom turn out beautifully. It was also v e r y s l o w stitching. If I had to guess, I would say over 6 hours on the long and short shading. The advice to take it easy, enjoy the process of stitching and relax was excellent. I enjoyed every stitch.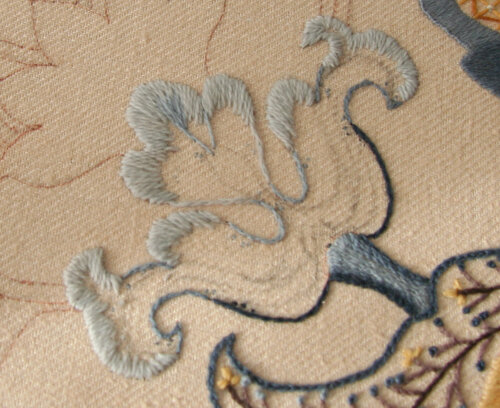 After outlining the edge with split stitch, I did the top row of thread in the lightest shade of blue (Indigo from Heathway - Color 151). These stitches were very carefully placed since their direction would determine the direction of the subsequent rows or layers of stitching.The trickiest bit was in the tiny, pointed corners on the top of each side. It was a balance between covering the area and not crowding the stitches.
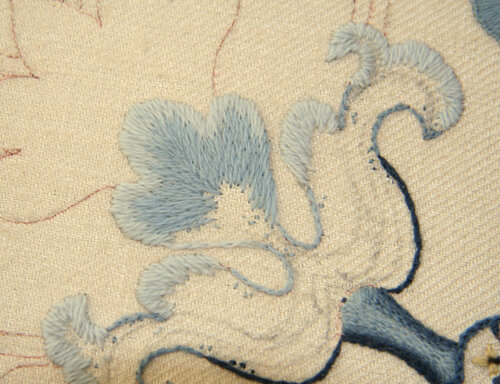 As you can see from the second shade of blue , the first stitches were well placed so the second shade of blue worked up easily. The stitch diagram was really helpful at this point as it shows clearly to work the stitches into a V shape in the middle.
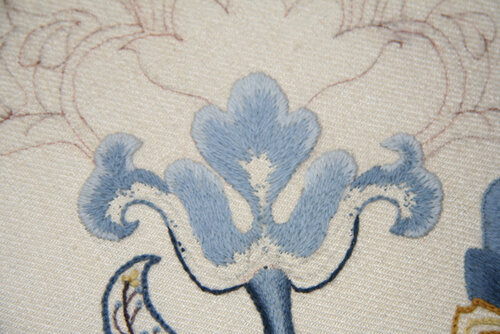 Filling in the hook shapes on either end was the most tedious - the stitches are so tiny and change direction almost every stitch. I was a bit worried, but when I looked ahead I realized that most of these stitches would be covered by the next shade of blue and wouldn't show as much when it was finished. These little parts of the shape used the third shade of blue.
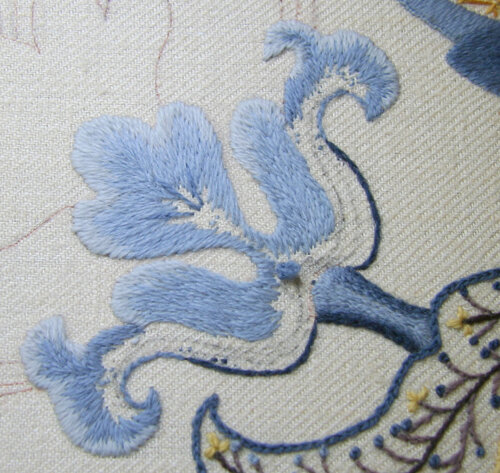 The forth shade of blue filled in the large areas in the middle of the shape at the top and moved towards the bottom of the shape at either side. This was fiddly as the thin 'neck' needed to have two shades in a very small area.
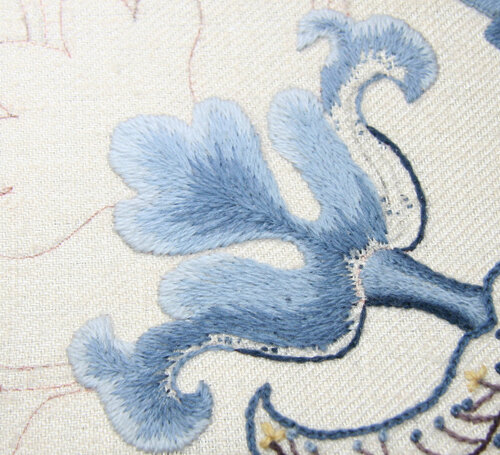 By the time I was ready to stitch the fifth shade of blue, I was very relaxed and enjoying myself thoroughly! I began to feel like the thread was a pencil or a paint brush and I was really painting with the thread.
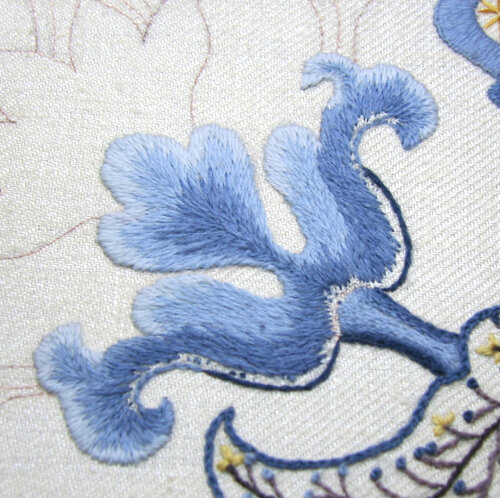 This is where the different colored split stitch outline helped me know exactly where to stop the fifth shade of blue along the bottom edge. You can see on the right side I've stitched the fifth shade of blue around the curve and stopped going over the split stitch on the outside where the darkest shade of blue split stitch begins.
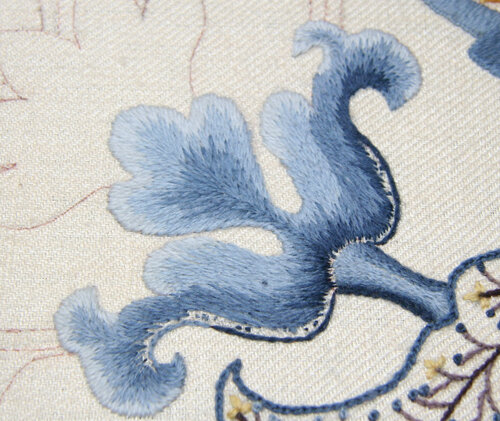 Filling in the last shade (that's 6!) of blue was easy and the only thing I had to be really careful of was making sure the stem blended in nicely to the blossom receptacle. (That's what this shape is called on the pattern and what it is in nature. It will be easier to see what it is when you see the whole thing, I promise!)
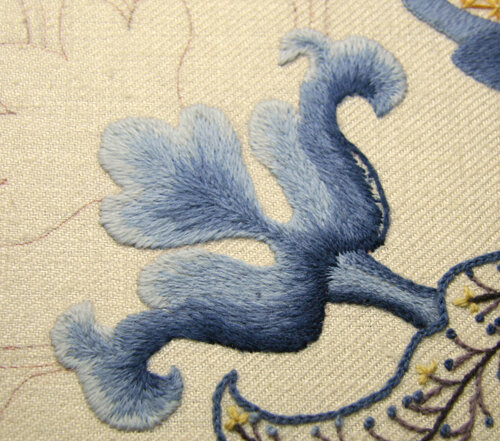 When I thought I was finished, I stood up again and took some photos. Then I uploaded them and looked at them critically and could see that I needed to add some dark blue stitches on the right side to make the shading better and I needed to add a few stitches at the top so the medium blue blended better into the light blue.
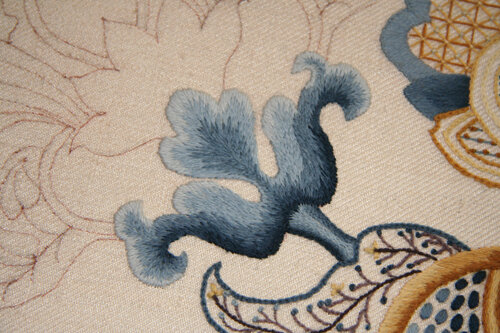 I am really, really chuffed with how it turned out! Thank you everyone for your advice and encouragement! Here's what the whole piece looks like so far. As you can see, I've done a lot of stitching but not much of the whole design!
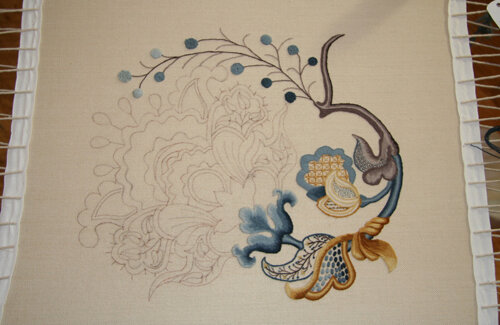 Do you see the 5 pointed petal thingy just above the bit I've just finished? It's called the Blossom Sepal Base and that's up next. It's all done in long and short shading in the brown/ fawn color. Guess what? I'm looking forward to it!*A note about the color differences in the photos: I am stitching in bright daylight, cloudy daylight and at night with my magnifying light therefore the colors look slightly different depending on the light and if I used the flash or not. The last photo is the closest to what I see in "real life".
