1, 2, 3...here I go!
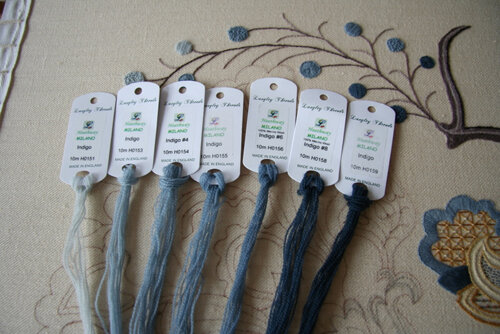
I admit it - I'm apprehensive about all this long and short shading, with lots of curves in small areas. Maybe apprehensive isn't the right word... I'm really nervous! I don't want to ruin the linen by pulling stitches out over and over again. I don't want to waste thread by pulling stitches out over and over again. I'm really not sure how to begin, proceed and finish successfully in this next section of the Royal Persian Blossom project! The instructions say that "the receptacle at the base of the blossom is worked in long and short stitches to provide a gradual shading from the darkest shade, shading through to the lightest at the top. The best result is achieved by following the sensuous curves of the shape with your stitches." Right. I understand, but how do I do it?There, now you know how I felt on Friday morning when I woke up. I DO want to finish the piece. I want to do this beautifully and enjoy doing it. And, I think I have a plan. We'll see how it all works out, but here are the first steps.1. Draw the lines on the shape that show generally where the shades of blue change within the large shape. Keep the diagram of the stitch direction in front of me but don't draw the lines on the fabric - too many lines confuse this embroiderer!
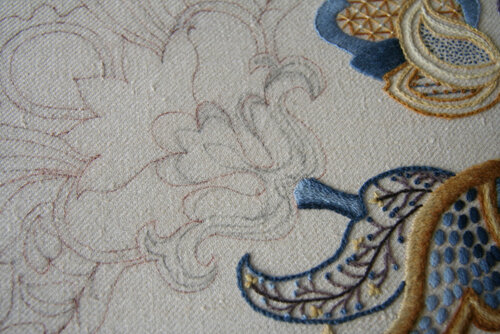
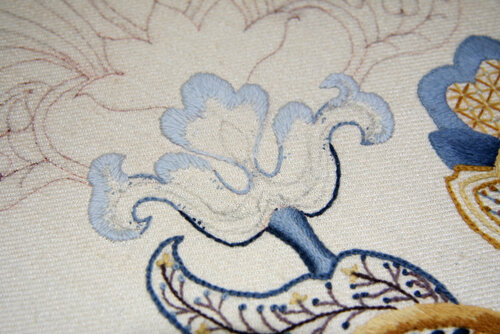
 2. Outline the whole shape in split stitch, changing the shade of blue where the color that touches the edge changes. (I forgot to stop and take a photo before I filled in the first layer of shading!)
 3. Carefully stitch the top layer of long and short shading, setting up the angle of the stitches to follow.4. Work slowly, stopping every 4 or 5 stitches to stand up, look and see how it looks. STOP every 4 or 5 stitches. STOP! Look at the stitch direction diagram every 4 or 5 stitches. STOP. Look. Continue stitching. STOP, look...on and on.As you can see from the photos, I got as far as step 3.It's step 4 and onward that concerns me. It's the "following the sensuous curves of the shape with your stitches" bit that has me worried. I remember Nicola at the RSN saying "Small short stitches are used to change direction when doing long and short shading". So, since I'll be changing direction just about all the time, I think my 'long and short' may be 'short and shorter' for this section. Don't think of it as long and short shading, think of it as stitching a tapestry. Yes, maybe that will work. My needle will do what I want it to do, it's getting my brain to see where the needle must go next.Wish me luck and watch this space!Any tips or help GREATLY appreciated!
