RSN Prep Sampler: The finishing touches
Yesterday afternoon I had such a wonderful time doing the finishing work on the RSN Prep Sampler. Usually I don't do anything with my finished embroidery pieces other than put them in a large, flat portfolio to keep them clean. I know, I know, I really need to have them framed or mounted or made into a pillow or something. I just 1.) don't want to spend any of my embroidery budget on that right now and 2.) don't know what to do with them all! This one got finished because it has a purpose and I'll need it next week.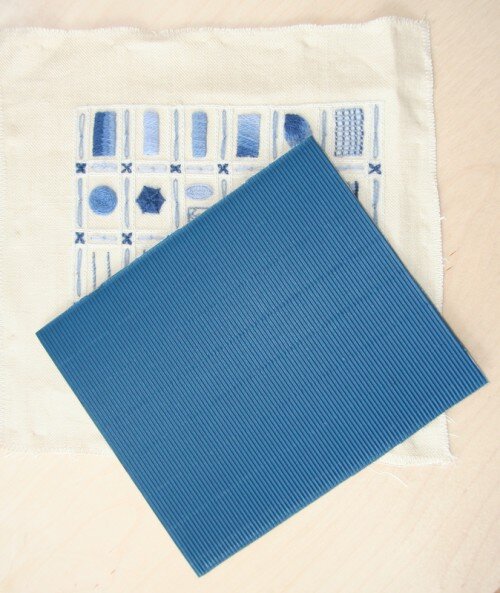 Here's what I did to finish the piece and get it ready to take with me to England.Firstly I had to find something on which to mount the embroidery. I looked in the closet where I keep used boxes, art paper etc. and found a gift box that was made of the perfect kind of cardboard:corrugated. It's much easier to insert pins into the sides of the corrugated cardboard than it is to insert them into poster board or matte board.First you must cut a piece large enough to give a 1/4 inch border around the embroidery. You can do this to suit your taste but for a sampler I found 1/4 inch was enough.Next you must make sure the embroidery is centered on the cardboard. After you're sure that it's centered begin pinning it to the cardboard. Using straight pins with round heads, insert a pin into the cardboard in the middle of the top edge of the embroidery to secure the embroidery to the edge of the cardboard.
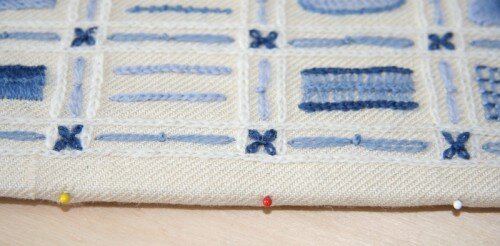 Next pin it in the opposite place on the bottom. Continue inserting pins on the top and then on the bottom until both edges are finished. Then move to the side and follow the same procedure.
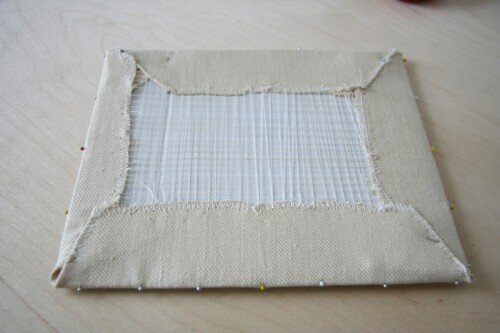
 When all four sides are pinned and secured to the cardboard, secure the corners with pins as well. Make a careful fold so that the corners will be crisp on the front.
  Now it's time to lace it all together. Using quilting thread, make very long stitches from one side to the other, making sure the stitches pull the fabric firmly (but not too tight!) together from side to side. When the sides are finished, repeat the long lacing stitches from top to bottom. Lastly stitch the corners using a whip stitch.
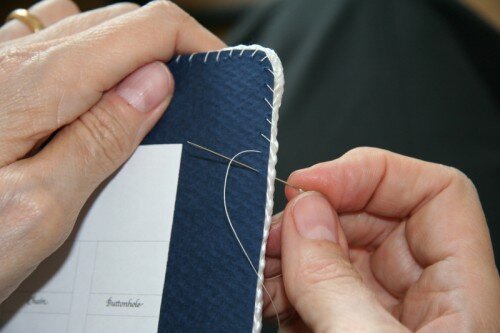
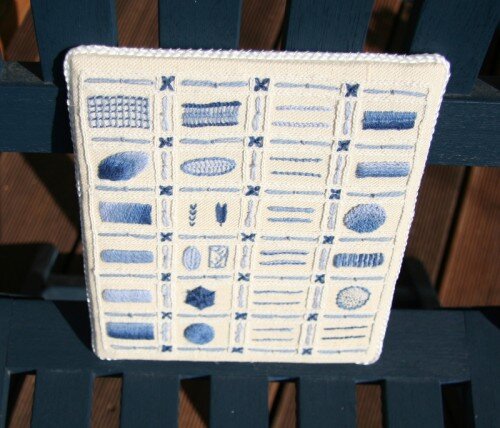
 The next thing I did was to add white cord as trim all around the edge. Hand stitch the cording on using quilting thread. Catch a bit of the fabric from the back and then a bit of the cording.
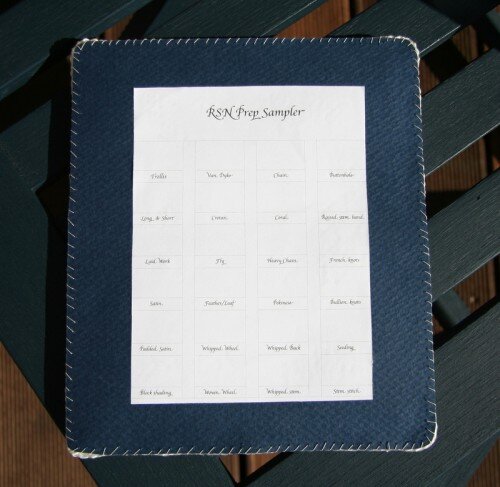
 When it came time to attach the diagram to the back of the embroidery, I decided to sew the paper to the cording. I tried to use double sided, padded tape to hold the paper on the back but it wasn't secure enough. Again, I stitched the cord to the paper in the same way I attached the cord to the fabric. One of the things I like about this technique is that the paper side looks quite nautical with the white stitching on the blue paper.
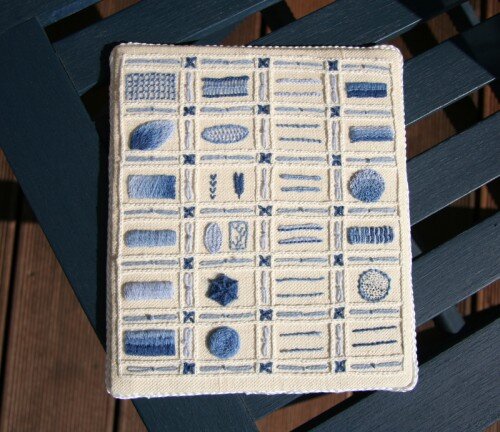
 Here's the finished piece from the front. The white cording picks up the pattern of the white chain stitch.
 Here's the back of the piece, where you can see the white stitching on the heavy blue paper. I used Strathmore Art Paper for the backing and glued the diagram to the paper.
 Here you can see the cording on the edge of the sampler. I love how it looks on the blue chair on my balcony!
 This morning we're off! I am so excited and have all of your questions ready to ask. Thank you all for your good wishes!Have a great weekend!
