
Tracy A. Franklin at Ali Halley Studio
The second day of the two class with Tracy A. Franklin at Ali Halley's Studio was bullion knot day! Tracy demonstrated her trick* (see below) for making a bullion knot and demonstrated bullion knots over and over for us until all of us felt confident making them.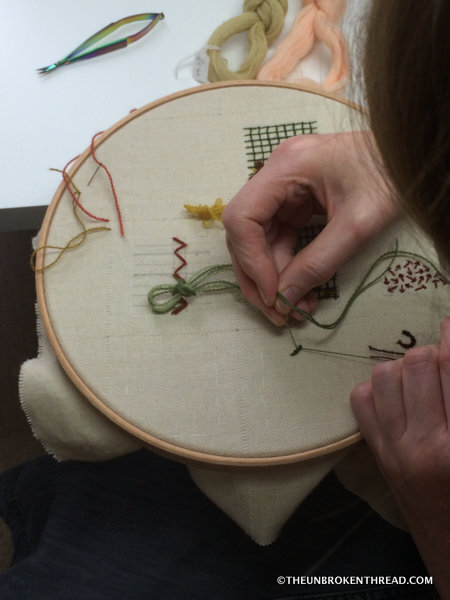 In her book, Crewel Work, Tracy uses bullion knots in multiple ways, creating patterns and texture in small squares on a sampler. We would be doing the same thing in three of the nine squares on the sampler we did in the class.I haven't found bullion knots difficult to do but I do find it difficult to get them all the same length and diameter. Sometimes one end of the knot is thicker than the other. Well, practicing them as much as we did, I am now getting much better at making them even, both in length and diameter!
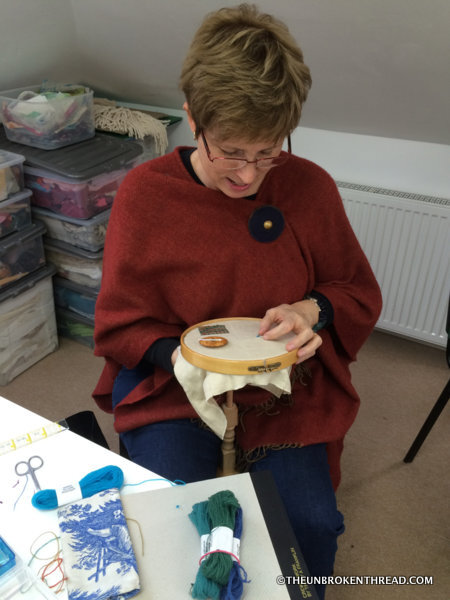 For those of you who may not know how to do a bullion knot, I'll explain the process but I do recommend a good stitch diagram to help you or, better yet, a real live person!The knot is usually stitched on a straight line (though not always), so for the explanation I will tell you how to make a straight bullion knot. On your line, you come up at point A, go down at point B, leaving a long bit of thread on the top of the fabric between points A and B, and bring YOUR NEEDLE ONLY back up at point A. In the photo below my thumb is covering point B and you can see my needle coming through the fabric at point A.
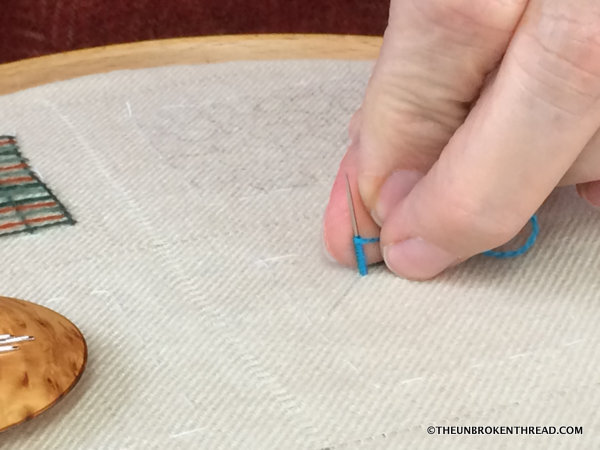 Using the thread that's on the top of the fabric between points A and B, you wrap the thread around the needle until the wraps are as long as the distance between points A and B. The next step is to pull the needle and thread through the wraps. This is the place where the knot could go terribly wrong. There are two solutions I know to this - 1. use a milliner's needle or 2. *the tip from Tracy. Gently loosen the wrapped threads by using your thumb and forefinger just before you bring the needle through the wrapped thread. Basically, you're unwrapping what you just wrapped a tiny bit so the wraps aren't so tight on the needle.When you've loosened the threads, put your needle through the fabric again at point B and you have a completed bullion knot. Below you see the knot wrapped and my needle is just ready to go back through the fabric at point B.
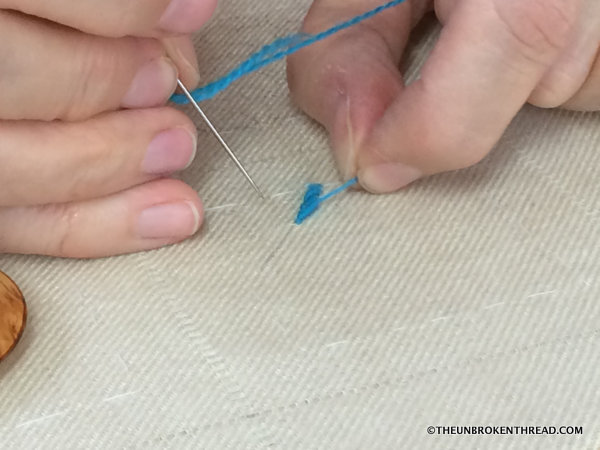 The technique Tracy taught us was to create a stem stitch line using bullion knots. It a beautiful technique and creates a line with a lovely texture.
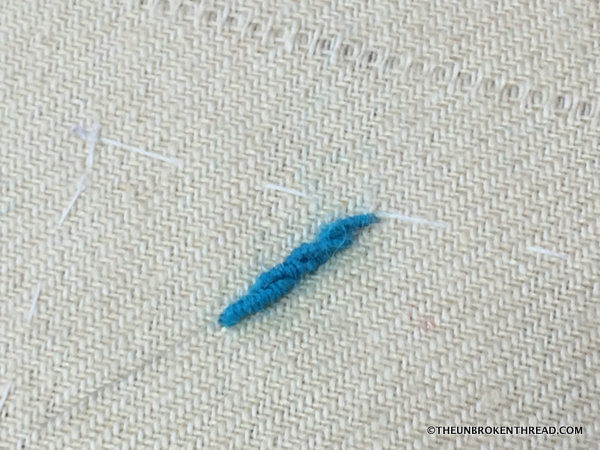 Below is my sampler, out of the hoop and slightly scrunched up! Can you see the bullion knot chevron pattern design in the bottom left? And the bullion knots over the trellis in the top right? And the bullion knot loops over the trellis in the top left? Bullion knots everywhere!In our samplers were each had three different colour combinations of 4 threads - one per row. Below you can see my three colour ways going left to right, from the top to the bottom of the photo. I'm not sure how the blues are going to work when the whole thing is finished...
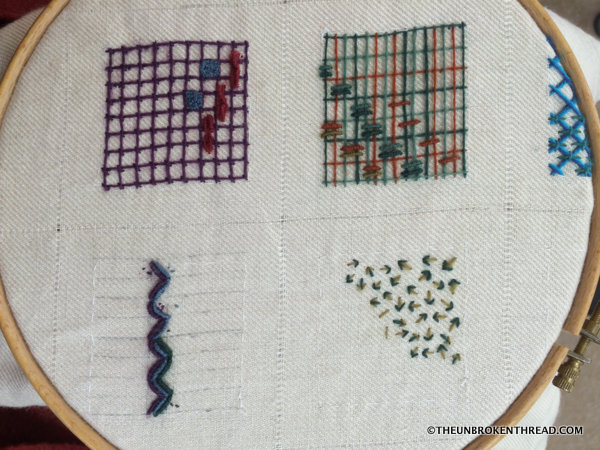 We talked amongst ourselves a lot about colour and how colours can be strongly affected by the colours around them. Below is a trellis design using two colours of blue and two of green. The strongest colour is the bright aqua blue. In the trellis I put the medium blue next to it. The straight vertical holding stitches are in a soft medium grey-green, the short horizontal holding stitches are in a slightly paler grey-green. You can see very clearly how different the colours of the trellis look without the grey-green holding stitches.
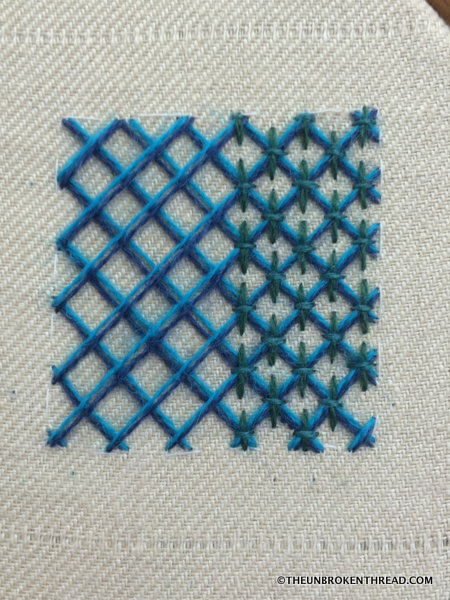 Each of us chose our three different sets of 4 coloured threads and it was interesting to see how the colour worked together and how different the same stitches looked in different colour combinations!
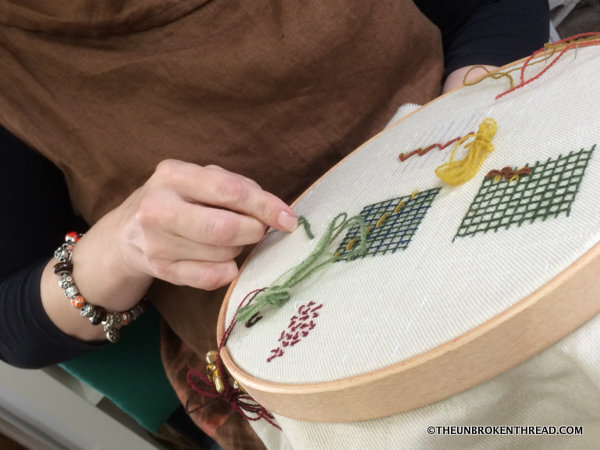 Ali Halley's studio is on the top floor of her home, with views over Jedburgh. The glow of the autumn leaves shone through the windows and the views made a welcome break from stitching.
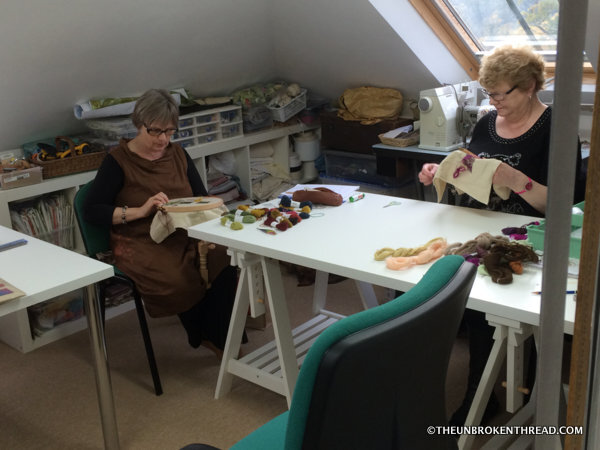 Ali, on the right in the photo below, is a textile artist and her studio is full of her supplies and tools and her work. It's an inspiring place to learn!
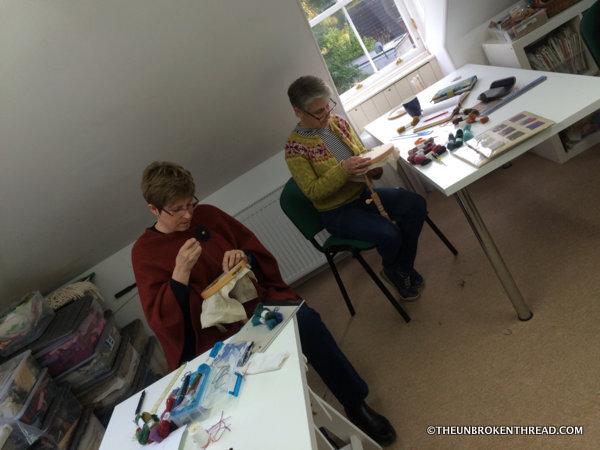 Ali's work encompasses multiple aspects of textile art and her workshops can be found here. To see a gallery of her stunning work, go here.For more information on workshops with Tracy, check the Tracy A Franklin websites for upcoming dates. A gallery of her stunning work can be found here.My stunning work is still a work in progress! Watch this space... :-)