
RSN Silk Shading: almost there!
When I left for Bristol, the silk shading project of a white cosmos looked like this (see below). I knew there was room for improvement but I didn't know where stitches should be added, nor did I know how to go about adding just a few, well placed stitches to make it just that little bit better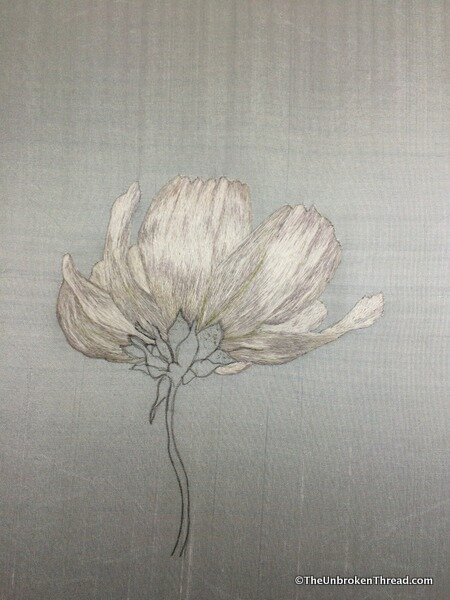 Not only that, many of you mentioned that when I added the green of the sepals and the stem, the whole thing would look much different. And, as usual, you were right!
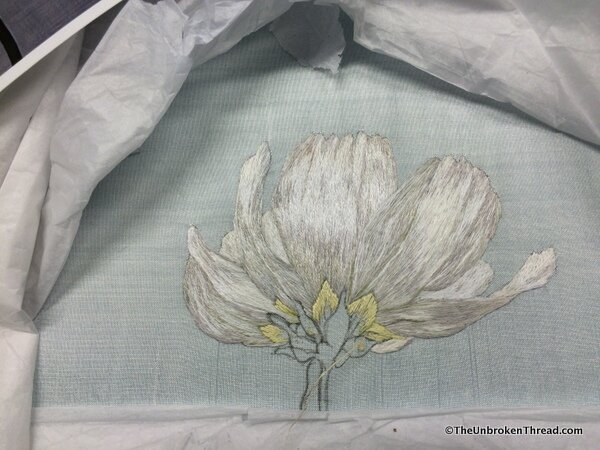 On my first day back in the Lovestitch studio with Kelley, I started on the light green area directly underneath the petals. After stitching the first layer of light green I could see how much the white popped out in the petals.
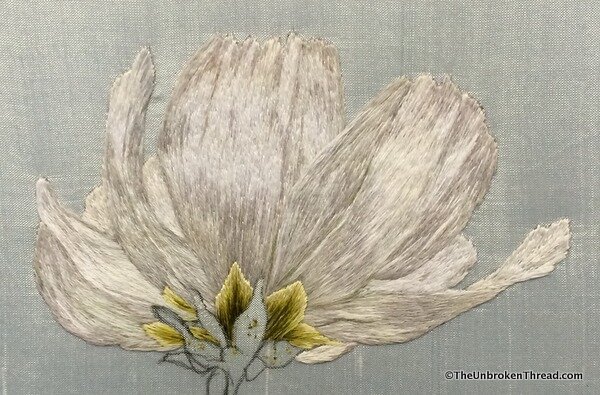 As I added the darker greens to the base of each sepal, the white looked even better! One would imagine that embroidering these small spaces would be relatively quick. Not so! The smallest spaces are the most fiddly and seemed to take a long, long time. Of course, I was excited to be finished and see the flower complete, so I was even less patient than usual!
 Fortunately for all of us in the studio, Margaret brought home made scones in for afternoon tea break. If you are one of the VERY unfortunate people on the planet who have never had a proper scone with strawberry preserves and clotted cream, then all I can say is, I'm so sorry! These were delicious. They were so delicious I ate two without one bit of guilt!After my tea and scones I was ready to go back to work and I made great progress which meant that the next time I came into the studio I would be ready for the finishing touches!Since we were in the UK over Easter, we had the Easter weekend to go on a short trip up to Liverpool. I'll tell you all about that and share some amazing embroidery pieces with you next time!