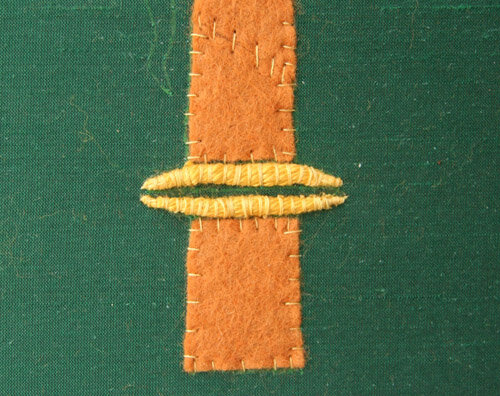
RSN Goldwork Day 1: felt and string padding
Before the first day of the goldwork course, I'd already transferred the design using the prick, pounce and paint method. So on the first day, I was ready to apply the padding, both felt and string.Padding is mostly used under chip work and cut work because the purl thread is more reflective over a curved surface. It can also be used to raise laid work and applique work.On my design both the crook and the leaf needed to be padded. The crook will be laid work using Japanese, rococco, twist and pearl purl threads. The leaf is all cut work using check purl thread.The two shapes that were to be padded had to be cut out of the felt and then applied to the silk fabric. 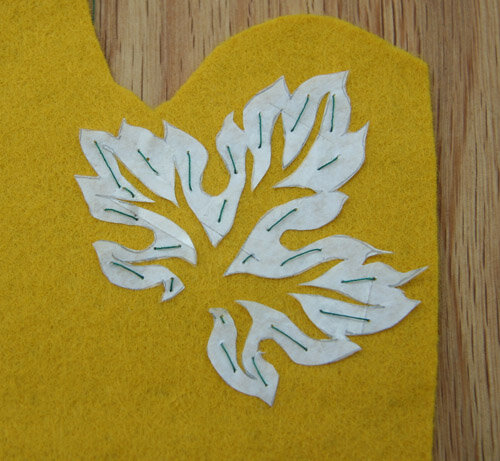 The crook shape was straightforward to cut and to apply. The leaf shape was far more difficult. It took a long time - over an hour. It's an intricate shape and needed to be cut as accurately as possible. Rather than drawing the shape onto the felt. I tacked the paper pattern onto the felt with basting stitches.
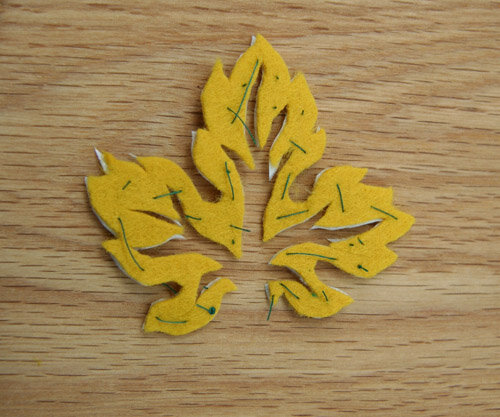 Using very tiny, sharp scissors, I cut the leaf out of the felt. It took more than an hour! Where is the time going??
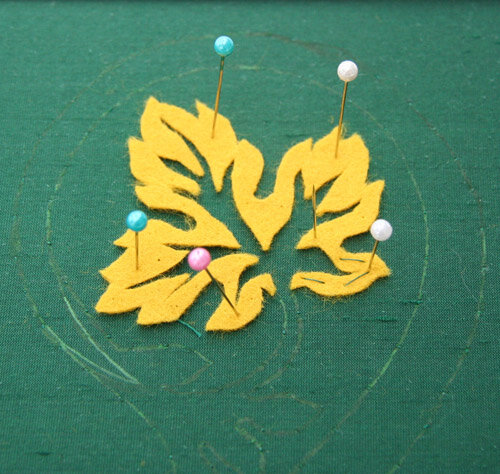 Because the leaf pattern piece was so narrow in places, I needed to make sure it didn't move around as I was stitching it down to the silk. Inserting straight pins through the felt and into the silk kept it in place. It was a little tricky sewing around the pins, though. My thread kept getting caught on the pins!Next I needed to baste the felt to the silk to hold it in place. At this point I could remove the pins. Yea!!!
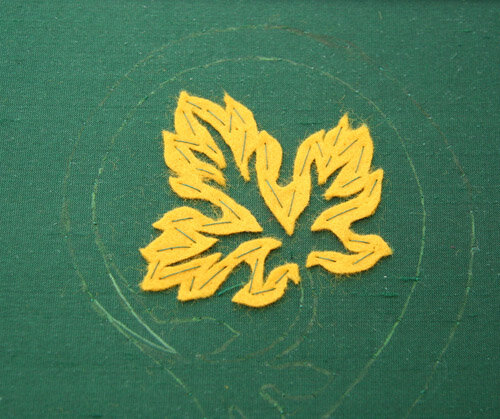 Now I finally was ready to stitch the felt padding to the silk. Both felt pieces are attached to the silk using alternating longer and short stitches, placed about .5 cm apart.
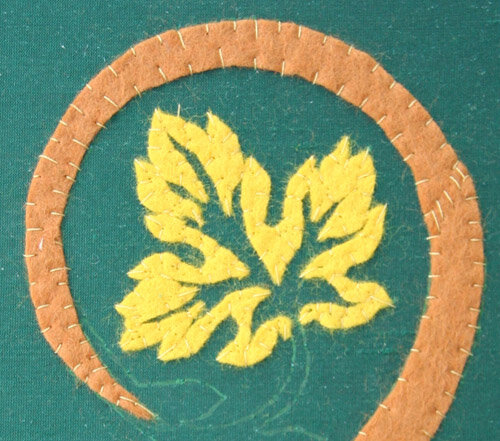
Now the design looked more complete. The leaf, which I hadn't painted onto the silk, was now in place.
The last step in preparation was to put on the string padding. For more detail on how to do this, please take a look at this post: String Padding
All of this took the first day and some homework time. While I wasn't stitching gold threads onto my fabric, everything I did today was the foundation for successful application of metal threads later.
My teacher stressed over and over how important it is to prepare the piece for the metal threads. Without good, solid padding, carefully and firmly attached, all the work I would later be doing on the top of the felt would be wobbly, wonky and not of a high standard.
So far, the preparation for a metal thread piece of embroidery has taken more time than for a crewel work piece.
This process is very different from anything else I've done before. There are more steps to working a metal thread piece so far - all the cutting and stitching and basting just to get the felt onto the fabric!
How does it seem to you? Is it more complicated? Does it appeal to you? Why or why not? I'm loving it so far...but I love everything new.

