A solution for cutting gold
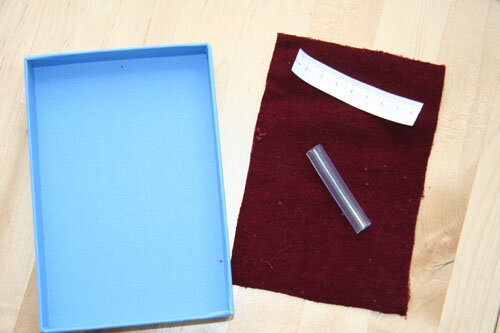
I was glad to find out that I'm not the only one unable to consistently cut purl to the correct length. Christina wrote that she, too, was having trouble cutting gold purl to the right length.Nicola Jarvis uses her eye and doesn't need to depend on any sort of measuring tool (like a ruler!). But Nicola is a fine artist with a highly developed artistic eye. I am not.Cutting the purl to the wrong length makes getting the purl to lay snug over the padding difficult: too long and it stands proud of the padding and cracks: too short and it leaves a gap between the purl and the fabric.While this little idea won't solve the problem of measuring the first piece, it will help you get subsequent pieces cut to the same or slightly greater or lesser length. As importantly, it will help you keep the purl in one place, so it isn't wiggling all around, making it really tricky to cut it at all. Sometimes it seems as if it's alive, it wiggles so much! You'll need 4 things:1. .a shallow box with a lid about 1/2 inch 1.5 cm high2. a printed centimeter ruler (for more accurate measurements)3. a short piece of plastic tubing available from you local building or hardware shop4. a piece of velveteen. (The color in the photo is not the piece I used in the end. I used gold since the dark red was a linty mess!)Using the bottom of the box as a pattern, cut the velveteen to fit exactly inside the bottom of the box. There should be no gaps between the edge of the velveteen and the side of the box. Glue the velveteen down to the bottom of the box, making sure that all four edges are secure.Print the ruler and cut it out, cutting right along the top edge of the measurement lines . I cut the ruler to 8.5 cm thinking I wouldn't ever need a piece of purl longer than that. Glue it to the side of the box, upside down, with the end tightly into the corner.
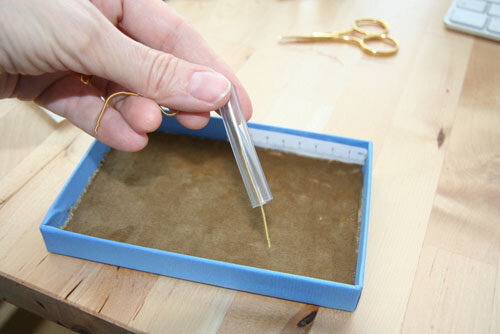
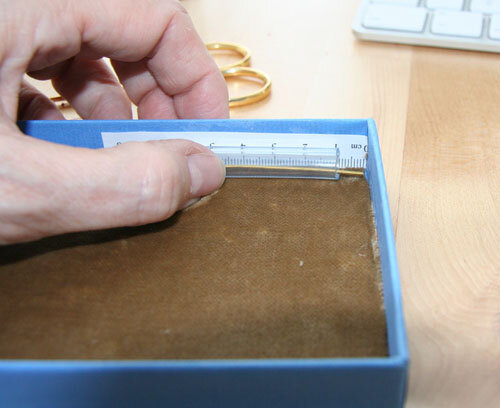
 All done! You're wondering now what that little piece of clear plastic tubing is for, right? That what you will drop you purl through when you're ready to cut it.Once the purl is through the tube, lay the tube down on the bottom of the box with a short length of the purl extending beyond the opening on the "0" end of the ruler. Measure and cut.The tube does two things that make using it easier than not using it:1. The purl stays straight inside the tube so it doesn't wiggle around.2. The tube lifts the end of the purl slightly off the velvet, holding it in place, so your sharp scissor point can slide under the purl to cut it. You can easily slide the tube back and forth according to how long you want the piece of purl to be.
 Who would have thought that a little piece of plastic tubing would make life so much easier?For a great tutorial on how to make an even fancier goldwork thread tray, see Mary Corbet's Needlen'thread .
