RSN Crewelwrok Course Day 2 - Stitching and tea
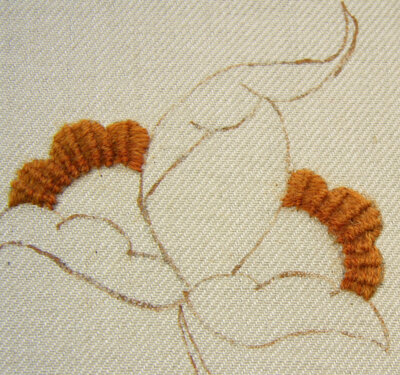
The day we started stitching was a "great day" at the RSN Rugby. We'd spent a day and a half designing, framing and transferring the design (all very important to get right for a good result) and our fingers were itching for a needle. Before we began, we needed to decide which stitches would go where - at least initially. As we worked, we adapted both color and stitching choices slightly if we felt that something other than what we planned would look better.Today I'll be writing about the color and stitch choices for the large flower shape at the top center of the design. For inspiration and ideas we referenced illustrations from books of historical needlework. One of my favorite resources is a book from the Victoria and Albert Museum entitled Victoria and Albert Museum's Textile Collection: Embroidery in Britain 1200 - 1750. It's out of print but it's possible to find it at used book shops. The designers of crewelwork kits study these same pieces for their inspiration. All of us can collect color and stitch choices from these old pieces when designing our modern interpretations of Jacobean crewelwork.The inspiration for the colors in my piece came from two sources: the detail of a curtain in the V&A from the first half of the 18th century and the detail of a Jacobean embroidery from the 17th century in the RSN collection. There is a photograph of this piece in the Royal School of Needlework Embroidery Techniques by Sally Saunders. Both of these pieces use deep greens and gold or rusty browns. The pieces seem to glow with the late afternoon sun on the deep green of the trees.  When making stitch choices we considered the direction of the shape to be filled and how the stitches would look when they were combined. As I was studying the design and thinking about what to do, Sarah Homfray suggested an adaptation of a wrapped wheel. This stitch really highlighted the shape and direction of the flower. I shaded it by using a darker color at the bottom and moving into a lighter shade of the same color as I moved towards the top.For the center I wanted a stitch that would pull together most of the colors of the piece and was a lighter texture. It needed to be something that didn't have either a vertical or horizontal direction. Trellis stitch with center crosses in light green and short couching stitches in both dark green and lighter gold.
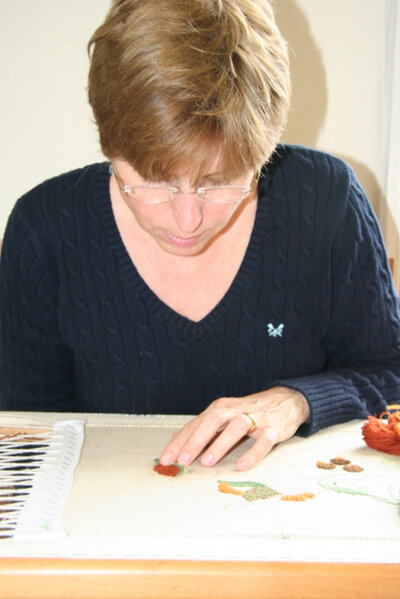
 This took until the end of the morning and the first part of the afternoon to stitch and then it was tea time! One of the most enjoyable parts of the day was the time we spent having tea and talking about embroidery, life and everything imaginable. The sharing of ideas and the supportive nature of the other embroiderers was a highlight of the course.
  Although I certainly didn't finish this element of the design in one day - or even two!- here it is, all finished. The stitch that fills the bottom horizontal leaves is burden stitch. Burden stitch is a closely worked stitch that adds texture but subtle texture. I've shaded it using only two colors. The top, vertical leaf is worked in brick stitch, again shaded from dark at the bottom to light at the top. And finally the side section has Tete-de-boeuf stitches. There are filled areas and more open areas - some more dense than others. There's a symmetry to the filled areas - both , sides and top and the open areas are in the middle, with the slightly less open trellis stitch in the middle.
 The green sections (bottom two and top) form a triangle. The sections are all worked in green threads and are similar in texture. The two horizontal leaves have slightly different shading to give the impression of the light reflecting off them differently. The bottom and top leaves are both outlined in whipped back stitch using two very close shades of green wool for subtlety.The end of the day always came too soon - we had so much to do and the time just flew by. But every hour was wonderful.
