RSN Crewelwork Course Day 2 - transferring the design
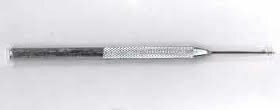
After our first day of designing on paper and framing up, all of us were more than ready to begin stitching. Our fingers were itching and our needles calling to us but first we had to transfer the design. I'll be honest, this was the part I was most nervous about. I have good dexterity but my hand is not steady when doing delicate work.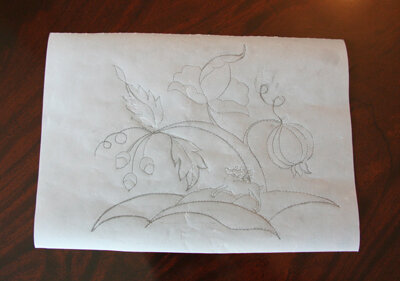 At the very end of the day we'd all traced out designs from drawing paper to tracing paper. Our home work was to prick the design on the tracing paper so it was ready to be transferred using pounce the next morning. Pricking isn't difficult but it is fussy. We had to poke tiny holes 1/8 inch apart into the tracing paper exactly in the middle of the drawn lines. Sounds easy right? Well, tracing paper is a little slippery and sometimes that needle didn't want to be where I so carefully placed it. Fortunately we used a tool that adds a handle to the needle so we didn't have to grip the needle with our fingers.
 Often a velvet covered board is used to put behind the tracing paper but I sat on the carpet and did it there. It's important that there is something soft but firm behind the tracing paper so the needle can go through the lines.
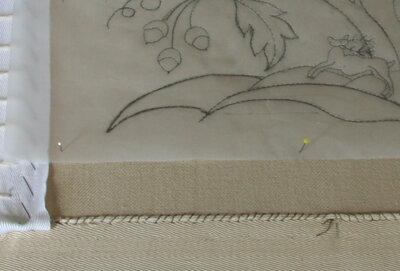
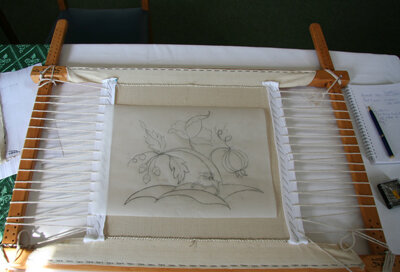 When we came back the next morning we started by centering the design on the stretched linen twill. We did not necessarily center the tracing paper on the twill. (see above :))
To keep the tracing paper in place, we inserted straight pins through the paper and the twill vertically. We didn't pin them together the way you would when you were pinning two pieces of fabric together because that would cause the paper to buckle and ruin the transfer of the design.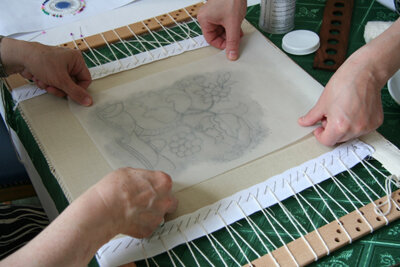 Now, here I have to apologize for not having a photograph to show you how we applied the pounce to the paper. I was so busy I didn't take a photo but I promise I will take one this week in class and post it here. Imagine a giant square cotton pad (the kind you might use to remove make up or apply disinfectant to a cut) rolled up into a short tube. We dipped that into a powdered mixture called pounce which was light gray. (It comes in other colors - white and dark gray - as well). The cotton roll picked up only a little of the pounce and we gently placed it on the tracing paper and rubbed the cotton roll over the tiny holes we'd pricked, thereby making tiny dots of light gray on the fabric underneath.You can see in the photo above Susanne's design all pounced and Nicola and Susanne together picking up the tracing paper to reveal the transferred design below!
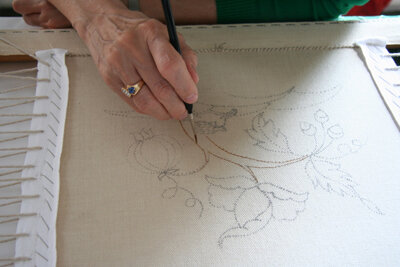
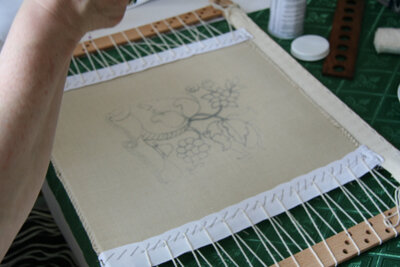 I'm sure one could do it alone, but we all appreciated two extra hands to help the first time.Now came the part that made me nervous - painting! Using water color in a sepia tone, we practiced first on a piece of twill to get the right pressure with the brush. The right pressure is almost no pressure at all. The brush has a very fine tip and the water color must be the right consistency - not too thin or it will run and not too thick or it will make big blobs on the design. Nicola mixed up the first little bit of paint for us but then we had to experiment to find what was best and that was a great learning experience.
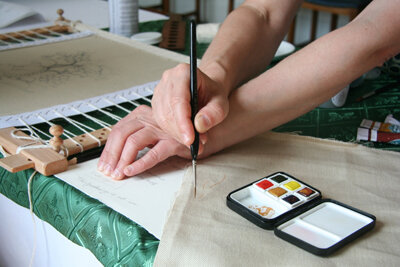 It's best to steady your hand on your arm while painting. Begin at the middle of the design and work down and to the right and left, then turn the frame upside down and finish from the other side. This means that your arm won't brush across the paint and smudge it.
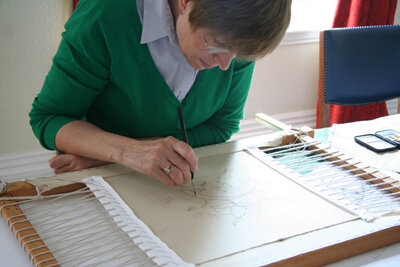 It takes concentration, a steady hand and (for me) a long time. However, aside from a couple of places where the lines were too thick, it turned out quite well. To get high marks on your final assessment, all the lines must be stitched over and none showing. This means if you've painted a line slightly off, you must adapt your stitching so that the line is covered. Great preparation is the key to a fabulous result.
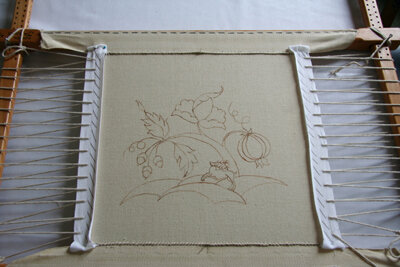
 Here it is all finished and ready to stitch - FINALLY!
 Next time I'll be talking about stitching but right now I have to go do my home work so I am ready for class tomorrow.

