RSN Crewelwork sampler update
This weekend I realized two things: just how lucky I am to have such wonderful readers and just how smart it is that I always have at least two projects going at once.Struggling with the Floral Bed Cover project has not been very much fun. To everyone who took the time to share an opinion or offer an idea, thank you! The piece is progressing and later this week you will see the result of all our collective brain storming. In the meantime, I was thankful to have the RSN Crewelwork sampler to work on. It's 75% finished and will be done by next weekend barring any disasters or emergencies.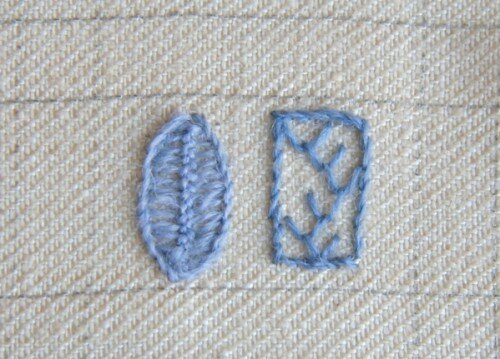 The two stitches above are leaf stitch (left) and feather stitch (right). The leaf stitch is outlined in stem stitch. I quite like the look of the spine this stitch creates. I wish I'd done it with all the stitches angling upwards more than they do. The feather stitch I've used before but in a more elongated form on the asparagus pillow top I did. It works up quickly and it such a versatile stitch.The next two stitches are both wheels - whipped and woven. There are two differences between the wheels: one has only 6 spokes and the other 7 and one makes a circle and one more of a star.
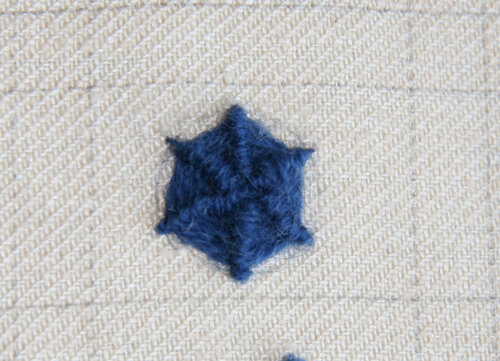 The whipped wheel is built on 6 spokes, wrapping the thread around each spoke working from the inside to the outside. The tricky bit with this stitch is to pull the thread evenly as you wrap it around each spoke. If you don't you'll end up with a lump on the spoke - like the little bump on the spoke at 2:00 in my whipped wheel above. I will - in my own defense - say that the Appleton yarn is so fluffy that I find it very difficult to keep an even tension all the time. It's as if it sticks to itself. However, complaining about the materials isn't an excuse for carelessness.
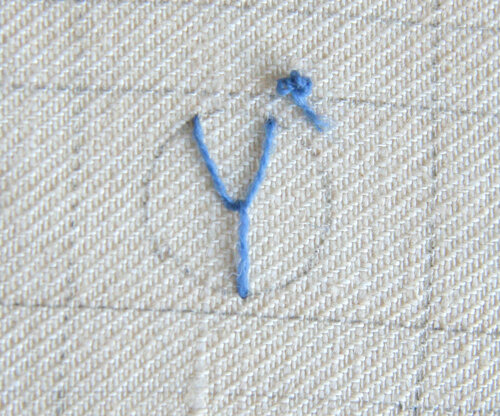 Making a woven wheel is pretty clever. Because one needs an uneven number of spokes to weave the thread through, it works best if you begin with a variation on a fly stitch. This provides an uneven number of spokes and, if you think through the distances between each spoke before you put in this stitch, the Y shape at the top determines the distance apart for all the spokes so it isn't difficult to get all 7 evenly placed.
 After the spokes are set up, all that's left to do is weave the thread over and under the spokes, working from the inside out, until the wheel is completed. It looks just like a little button, doesn't it? I have no idea when I would use a stitch like this, but I hope I'll get loads of ideas on the course.
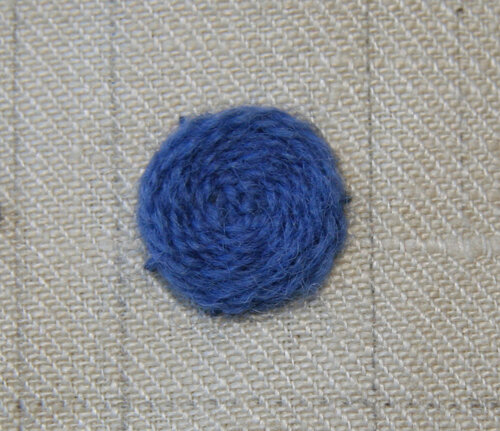 One really important tip for making both these wheels: after you've stitched the spokes with a crewel needle, be sure to change your needle to a tapestry needle. They have a blunt end and that will keep the needle from picking up or getting caught in the spokes as you've wrapping or weaving them. This woven wheel I'm very pleased with - it looks b*e*a*u*t*i*f*u*l!
 When I drew out the pattern/plan for the sampler, I drew two circles for these two stitches. I didn't realize until I'd done them both that the whipped wheel wouldn't produce a circle, but rather a shape that reminds me of a starfish. I sure hope the pencil line comes out of the twill!
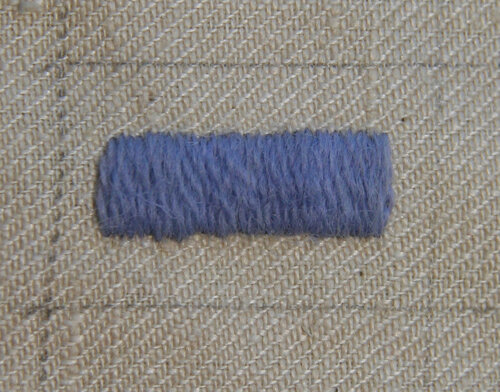 Last up is our old favorite, padded satin stitch. I just love doing this stitch in wool. While the fuzziness of the wool wasn't my favorite when doing the whipped wheel, that very same quality makes padded satin stitch look so nice. Any tiny flaws seem to melt into the wool and it looks just about perfect. Ahhh.This project (as opposed to the other one - grrr) is turning out just as I hoped and planned. Therefore, it's my current favorite project. Do you do more than one project at a time? If so, do you develop a favorite? Does it change as you go along?
