Kathy Andrews 1/21/22 Kathy Andrews 1/21/22 A Small, but Very special, needle case Read More Kathy Andrews 1/19/22 Kathy Andrews 1/19/22 Sweethearts Shaker Box Read More Kathy Andrews 12/26/21 Kathy Andrews 12/26/21 A new project: a Shaker Box Read More Kathy Andrews 10/14/21 Kathy Andrews 10/14/21 Experimenting With Color Read More Kathy Andrews 8/9/21 Kathy Andrews 8/9/21 A Helpful “Invention” Read More Kathy Andrews 7/23/21 Kathy Andrews 7/23/21 Learning from Hanny Newton Read More Kathy Andrews 7/20/21 Kathy Andrews 7/20/21 Italian shading - my take Read More Kathy Andrews 7/5/21 Kathy Andrews 7/5/21 Teaching at Heartland EGA 2022! Read More Kathy Andrews 7/3/21 Kathy Andrews 7/3/21 Welcome to my New site! Read More Goldwork 3/21/21 Goldwork 3/21/21 Couching Read More Embroidery 1/25/21 Embroidery 1/25/21 Sweet Readers Read More Historic Embroidery, Silk, Unbroken Thread Projects 8/12/20 Historic Embroidery, Silk, Unbroken Thread Projects 8/12/20 Trevelyon's Garden Pin Cushion - Finished! Read More Crewelwork, Historic Embroidery, Unbroken Thread Projects 8/4/20 Crewelwork, Historic Embroidery, Unbroken Thread Projects 8/4/20 Prince's Thistle - A New Crewelwork Project! Read More Samplers 7/11/20 Samplers 7/11/20 Mary Parsons 1780 Read More Historic Embroidery, Samplers 5/23/20 Historic Embroidery, Samplers 5/23/20 New directions Read More Embroidery 4/15/20 Embroidery 4/15/20 Catkin Crown Textile Studio is open! Read More Historic Embroidery, Unbroken Thread Projects 3/22/20 Historic Embroidery, Unbroken Thread Projects 3/22/20 Trevelyon's Garden - fabric and first stitches Read More Historic Embroidery, Silk, Unbroken Thread Projects 2/24/20 Historic Embroidery, Silk, Unbroken Thread Projects 2/24/20 New Trevelyon Project Read More City and Guilds 2/19/20 City and Guilds 2/19/20 City and Guilds Completed! Read More Crewelwork, Unbroken Thread Projects 9/7/19 Crewelwork, Unbroken Thread Projects 9/7/19 Unbelievably busy! Read More Older Posts
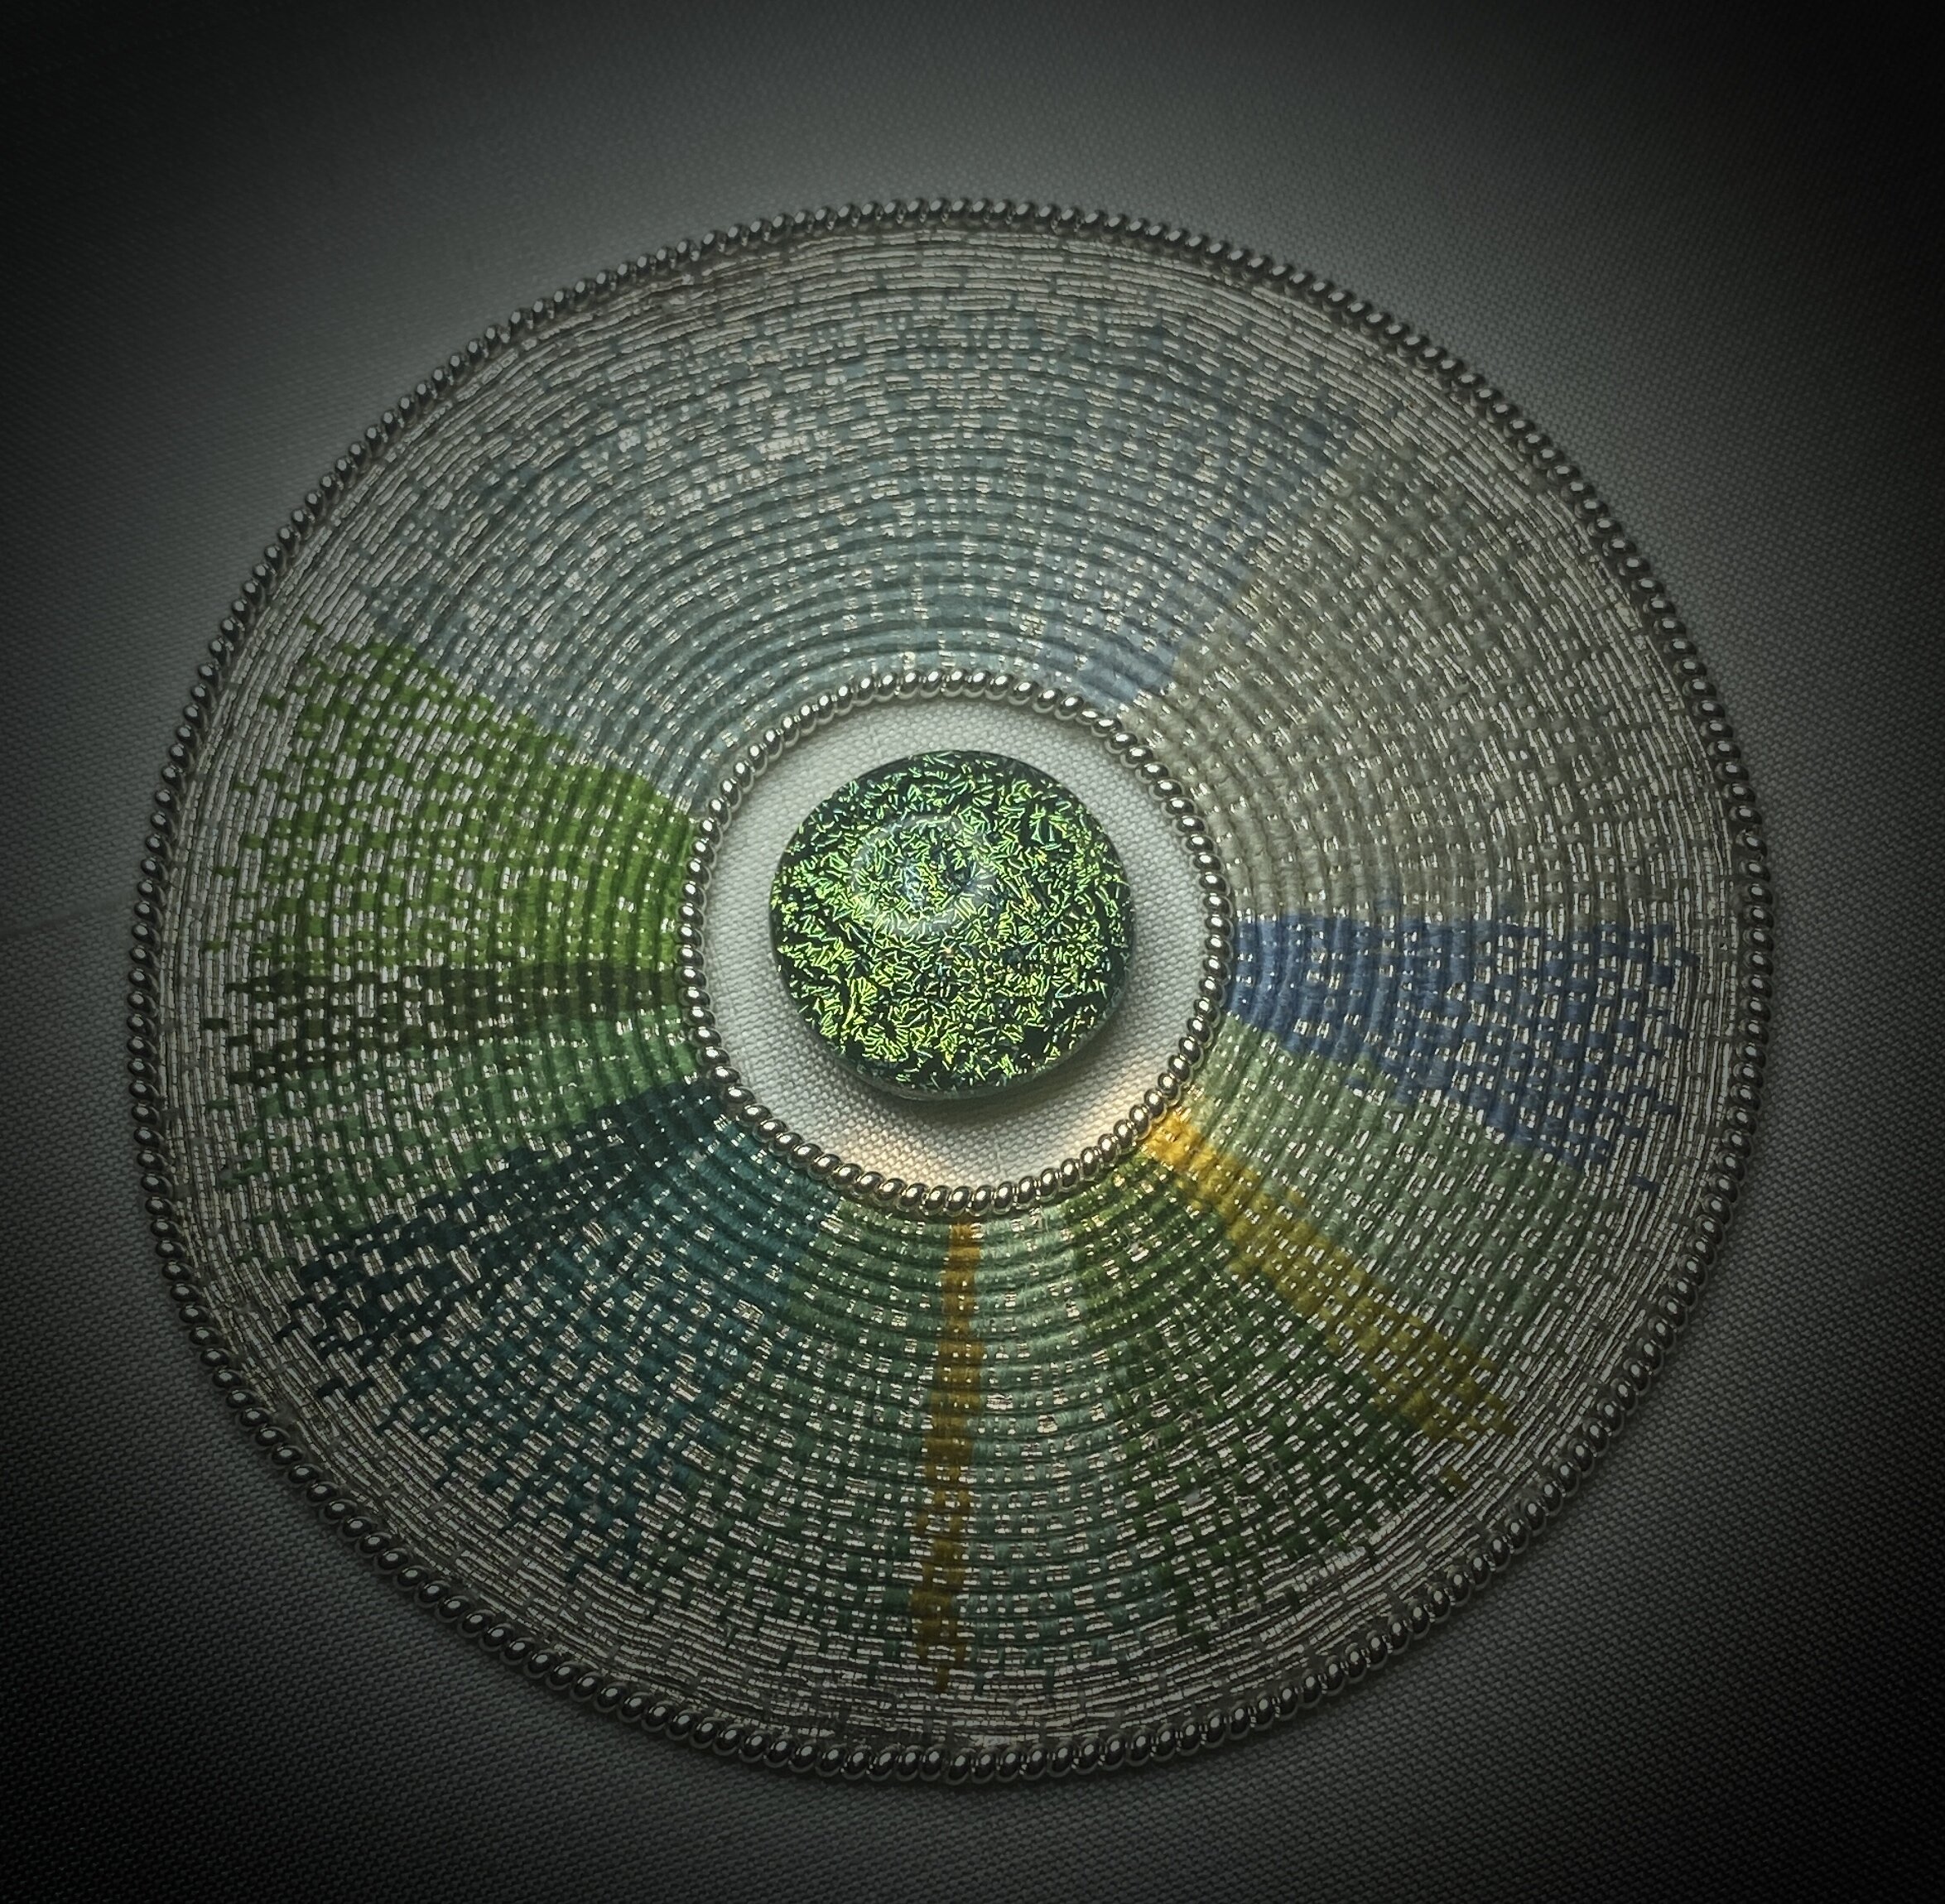
Historic Embroidery, Silk, Unbroken Thread Projects 8/12/20 Historic Embroidery, Silk, Unbroken Thread Projects 8/12/20 Trevelyon's Garden Pin Cushion - Finished! Read More
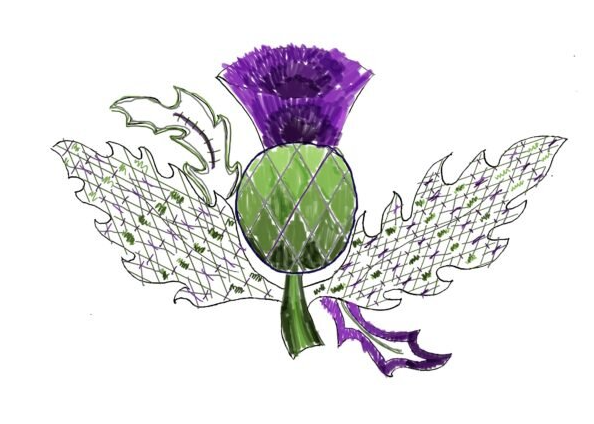
Crewelwork, Historic Embroidery, Unbroken Thread Projects 8/4/20 Crewelwork, Historic Embroidery, Unbroken Thread Projects 8/4/20 Prince's Thistle - A New Crewelwork Project! Read More
Historic Embroidery, Unbroken Thread Projects 3/22/20 Historic Embroidery, Unbroken Thread Projects 3/22/20 Trevelyon's Garden - fabric and first stitches Read More
Historic Embroidery, Silk, Unbroken Thread Projects 2/24/20 Historic Embroidery, Silk, Unbroken Thread Projects 2/24/20 New Trevelyon Project Read More
Crewelwork, Unbroken Thread Projects 9/7/19 Crewelwork, Unbroken Thread Projects 9/7/19 Unbelievably busy! Read More